My Journey into DIY Wall Texturing: A Personal Tale
As someone passionate about home improvement, I remember the first time I decided to try my hand at wall texturing. It was a Saturday afternoon, and I was eager to give my living room a fresh, unique look. I vividly recall the anticipation and excitement as I gathered my tools and materials, ready to transform my plain walls into textured masterpieces.
Discovering Creative Texturing Methods for Unique Wall Finishes
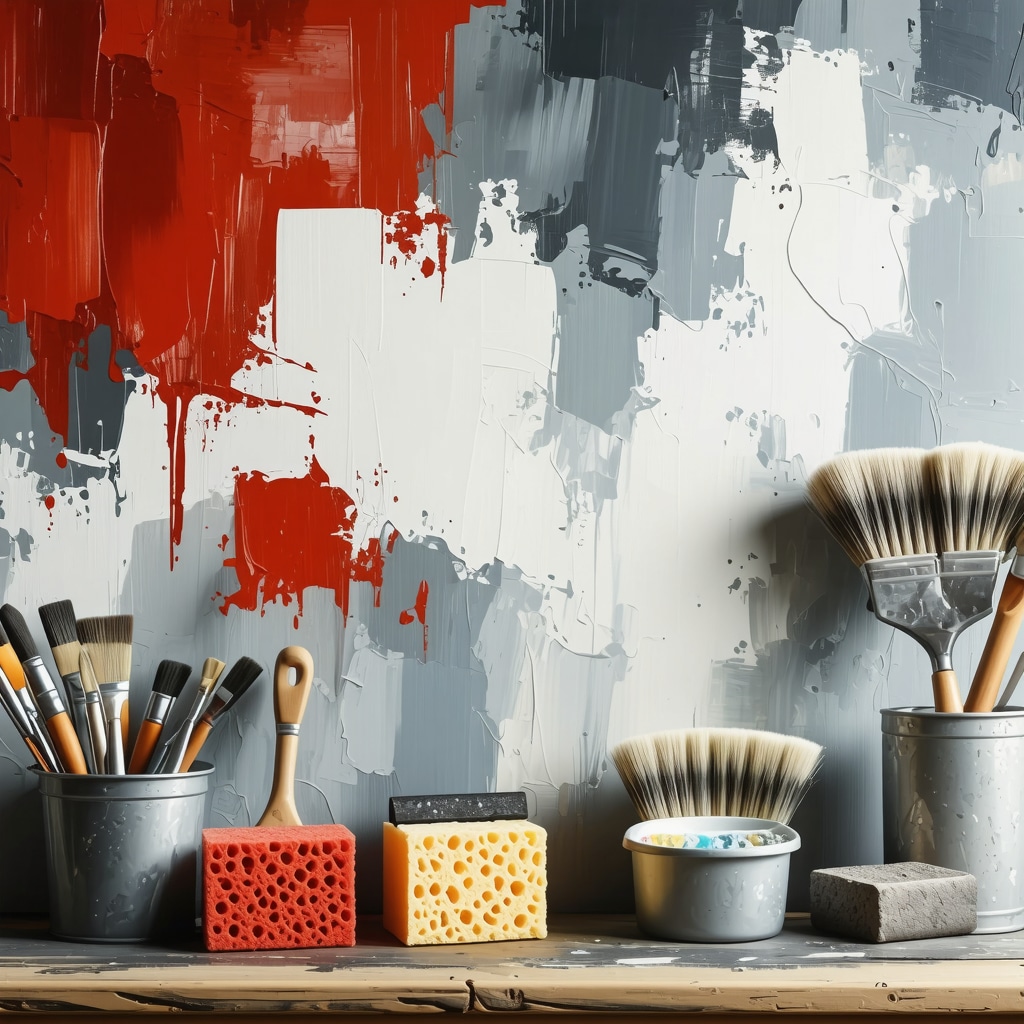
One of the most rewarding aspects of DIY wall texturing is the variety of techniques available. From the classic knockdown to the intricate swirl patterns, I experimented with different methods. What fascinated me was how each technique could dramatically alter the ambiance of a space. I found that using simple tools like sponges, brushes, and trowels, combined with some patience, could produce professional-looking results. For inspiration, I often browsed home improvement websites and learned about popular textures that add depth and character to walls.
How Do I Achieve Professional-Looking Textures at Home?
Achieving a polished finish requires attention to detail and the right materials. I recommend practicing on a scrap piece or an inconspicuous wall before tackling the main surface. Using joint compound mixed to the right consistency is crucial. I also discovered that adding a bit of texture additive can enhance the final look. For even better results, I watched tutorials from trusted sources like home improvement experts to refine my technique.
What Are Some Tips for Maintaining and Repairing Textured Walls?
Over time, I learned that textured walls can be durable but may require touch-ups. Light sanding and patching are essential for repairing damages. When repainting, using a roller with a thick nap helps maintain the texture’s integrity. I also found that sealing the surface before painting preserves the texture and prevents uneven absorption. Sharing my experiences, I encourage fellow DIY enthusiasts to embrace imperfections as part of the charm, making each finished wall truly unique.
If you’re considering adding a personal touch to your home, experimenting with wall texturing can be an enjoyable and fulfilling project. Remember, patience and practice are key. Feel free to share your own tips or ask questions in the comments below!
Unlocking Advanced Wall Texturing Techniques for a Professional Finish
Building on my initial experiences with DIY wall texturing, I discovered that mastering advanced techniques can elevate your home decor to a new level. For instance, integrating stencil patterns or combining multiple textures can create a truly bespoke look. Using tools like stippling brushes or sponge rollers allows for intricate designs that mimic the effects of professional artisans. It’s essential to understand the nuances of material consistency; too thick or too runny, and the texture may not set as desired. I recommend experimenting on scrap drywall to perfect your technique before applying it to your main walls, ensuring a seamless and polished result.
What Are the Key Factors to Consider When Mixing and Applying Texturing Materials?
One often overlooked aspect is the right mixture of joint compound and additives. For example, incorporating texture powders or sand can produce varied finishes such as sandy, stucco, or even feathered effects. The application method—whether using a trowel, spray gun, or brush—also significantly impacts the final appearance. For a more complex look, layering different textures can add depth and dimension, making your walls stand out. I also found that temperature and humidity influence drying times and adhesion, so monitoring environmental conditions is crucial for consistent results. Consulting trusted sources like home improvement experts can provide insights into advanced application techniques.
How Can I Ensure the Longevity and Ease of Maintenance for Textured Walls?
Durability begins during the finishing phase. Sealing textured surfaces with a high-quality primer or protective sealant preserves the integrity of the texture and makes cleaning easier. When repainting, using the right tools—such as a roller with a thick nap—helps maintain the textured surface without smudging or uneven coverage. Regular maintenance involves gentle dusting and periodic touch-ups to address any chips or damages. If repairs are needed, carefully matching the original texture is vital; this might involve reapplying the same technique or using specialized tools to replicate the pattern. For those interested in extending their DIY skills, exploring innovative solutions like eco-friendly paints or textured wallpapers can add variety and sustainability to your projects. For inspiration and detailed guidance, check out innovative DIY ideas.
Are There Creative Ways to Incorporate Wall Texturing into Your Overall Home Design?
Absolutely! Combining textures with different colors, lighting, and decorative elements can transform a plain wall into a focal point. For example, accent walls with a bold texture paired with subtle paint shades create visual interest and depth. Using textured finishes in specific areas like entryways or behind shelving can add a layer of sophistication. Moreover, integrating textured panels or upcycled materials aligns with sustainable design principles, giving your home an eco-friendly edge. Experimenting with patterns such as geometric shapes or organic swirls can also reflect personal style and creativity. If you’re seeking further inspiration, exploring DIY decor ideas like upcycled window frames or handmade wall art can complement your textured walls beautifully—visit home decor tips for more ideas.
Reflections on the Artistic Journey of Wall Texturing
Looking back on my journey with wall texturing, I realize it’s been a continuous learning experience filled with experimentation and personal growth. Each project pushed me to understand the subtle nuances of material consistency, application techniques, and environmental factors that influence the final outcome. For instance, I found that adjusting the mixture of joint compound and additives like sand or texture powders can dramatically change the tactile feel and visual depth of the surface. This process taught me patience and precision, qualities essential for transforming a simple wall into a work of art.
Delving into Complex Texturing Techniques for Unique Home Accents
One of the most rewarding challenges I encountered was integrating multiple textures to create dynamic feature walls. Combining stippling, swirling, and even stencil patterns allowed me to craft intricate designs that reflect my personal style. I discovered that layering different textures not only adds visual interest but also enhances the tactile experience of a space. Using advanced tools such as stippling brushes, sponge rollers, and custom stencils, I could mimic professional finishes with a DIY approach. For inspiration, I explored various online tutorials and home improvement forums, which provided invaluable tips on achieving seamless transitions between textures.
Achieving a Professional Finish: My Personal Strategies
To attain a polished, professional look, I emphasize the importance of preparation and technique refinement. Practicing on scrap drywall is a step I highly recommend before tackling your main walls. Paying close attention to the consistency of your mixture—aiming for a smooth but slightly thickened paste—makes a significant difference. Additionally, environmental conditions like temperature and humidity can affect drying times and adhesion, so I always monitor these factors. Using high-quality tools and sealing the surface with a primer before painting helps preserve the texture and ensures durability. I encourage fellow DIY enthusiasts to view imperfections as part of the charm, embracing the uniqueness each wall can bring.
Advanced Material Mixing and Application: Insights from Personal Experience
Mastering the art of mixing and applying texturing materials is crucial for complex effects. For example, incorporating natural elements like sand or crushed stone into the joint compound can create sandy or stucco-like finishes. When applying textures, I found that using spray guns for certain effects can save time and produce consistent results, but practice is key to controlling the spray pattern. Layering different textures—such as a rough stucco base with a smooth stippled overlay—adds depth that mimics artisan craftsmanship. Environmental factors like temperature and humidity influence drying times and adhesion, so I always work in controlled conditions when aiming for precision. For more detailed techniques, I recommend exploring advanced DIY solutions from trusted sources like home improvement experts.
Ensuring Longevity and Ease of Maintenance for Textured Walls
Durability is a key consideration. I always seal textured surfaces with a high-quality primer or sealant to protect against dust accumulation and facilitate cleaning. When repainting, using a roller with a thick nap ensures the texture remains intact, and gentle dusting keeps the surface looking fresh. For repairs, I find that carefully matching the original texture—sometimes reapplying the same technique or using specialized tools—restores the wall seamlessly. To extend the life of textured walls, I suggest exploring eco-friendly paints and sustainable materials, which not only enhance longevity but also align with environmentally conscious practices. For innovative ideas, check out modern DIY solutions.
Creative Integration of Wall Texturing into Home Design
Incorporating textures into your overall decor can truly elevate your living space. I love combining textured walls with contrasting colors and strategic lighting to create focal points. For example, textured accent walls behind shelving or in entryways add sophistication. Using textured panels or upcycled materials aligns with sustainable design principles, giving your home an eco-friendly vibe. Experimenting with geometric patterns or organic swirls reflects personal style and adds visual interest. Exploring DIY decor projects like upcycled window frames or handmade wall art can complement textured walls beautifully—visit home decor ideas for more inspiration.
Harnessing the Power of Custom Stencils for Unique Wall Effects
One of the most transformative techniques I adopted was creating custom stencils to add intricate patterns and motifs to my textured walls. This approach allows for personalized designs that reflect your aesthetic preferences while maintaining the handcrafted charm of DIY work. I designed stencils using laser-cut templates from durable plastics, which provided crisp edges and consistent patterns. Applying multiple layers of texture over these stencils resulted in stunning visual depth. For those interested in replicating this technique, experimenting with different stencil materials and layering methods can yield truly bespoke results. I found that sealing the stencil edges with painter’s tape before applying texture prevents bleed-through, ensuring sharp, professional-looking patterns.
Integrating Environmental Control for Consistent Texture Application
Achieving a flawless finish isn’t solely dependent on technique; controlling environmental factors plays a pivotal role. Humidity and temperature fluctuations can significantly impact drying times and adhesion quality, especially when layering multiple textures. I invested in portable dehumidifiers and space heaters to create a stable workspace environment, which minimized surface cracking and uneven drying. This meticulous control allowed me to experiment confidently with advanced textures like Venetian plaster or layered stippling. Moreover, understanding the ideal conditions for specific materials—such as the recommended curing temperatures outlined by experts in home improvement resources—proved invaluable. Such precision ensures longevity and durability in your textured finishes.
Mastering the Art of Layered Texturing for Depth and Dynamism
Layering different textures is a sophisticated technique that I began exploring after mastering basic application methods. By combining rough stucco with smooth stippled overlays or incorporating subtle swirl patterns, I created walls that invite touch and visual curiosity. The key is to plan your layers thoughtfully; starting with a base texture that provides structural integrity and then adding subsequent layers with contrasting finishes creates a multidimensional surface. I recommend practicing on scrap drywall to experiment with the compatibility of various textures and application tools, such as stippling brushes, sponges, and spray guns. This layered approach not only adds visual richness but also allows for creative expression, making your walls truly one-of-a-kind. For inspiration and detailed tutorials, browsing advanced DIY forums and expert guides can be incredibly helpful.
Innovative Material Mixing: Elevating Texture Quality and Effect
Advanced texturing often requires innovative material mixing to achieve specific effects. Incorporating natural elements like sand, crushed stone, or even fine gravel into joint compound can produce textured surfaces reminiscent of stucco or sandy finishes. I experimented with different ratios and additives to fine-tune the tactile and visual qualities of each layer. For instance, adding a small amount of silica sand resulted in a coarse, gritty texture ideal for rustic accent walls. When applying these mixtures, I found that using a spray gun or a trowel at varying angles creates dynamic patterns that mimic artisan craftsmanship. Environmental factors, as highlighted by industry experts, influence how these mixtures set and cure, underscoring the importance of controlled conditions. To delve deeper into material innovations, exploring trusted sources such as innovative DIY solutions can provide valuable insights.
Sealing and Protecting Textured Walls for Longevity
Durability is paramount when creating textured walls that stand the test of time. I recommend sealing textured surfaces with high-quality primers or sealants designed for porous materials. This step not only preserves the texture but also simplifies subsequent repainting and cleaning. When repainting, I use rollers with thick naps to maintain the pattern and avoid damaging the surface. For ongoing maintenance, gentle dusting and periodic touch-ups prevent the accumulation of dirt and minor damages. In cases of repairs, matching the original texture is essential; I often reapply the same technique or use specialized tools to replicate the pattern seamlessly. Incorporating eco-friendly paints and sealants aligns with sustainable practices, as suggested by environmental experts, ensuring your project remains both beautiful and responsible. For comprehensive sealing techniques, consulting resources like eco-friendly DIY guides can be beneficial.
Design Strategies: Making Textured Walls the Focal Point
Thoughtful integration of textured walls into your overall interior design can dramatically elevate your space. I love combining textured accent walls with contrasting paint colors and strategic lighting to create focal points that draw the eye. For example, textured panels behind shelving or in entryways add a layer of sophistication and depth. Incorporating upcycled materials or eco-friendly textured panels not only enhances aesthetics but also promotes sustainability. Experimenting with geometric or organic patterns allows you to express your personal style uniquely. To inspire your creative process, exploring DIY decor projects like handcrafted wall art or repurposed window frames can beautifully complement textured walls. For comprehensive ideas, visit home decor inspiration.
Things I Wish I Knew Earlier
Mastering Preparation
One surprising lesson I learned was how crucial thorough preparation is. I once jumped straight into applying texture without properly cleaning or sanding the wall, which led to uneven results. Taking time to prep the surface ensures a smoother finish and saves time in the long run.
Choosing the Right Tools
Initially, I underestimated the importance of using the appropriate tools. Using a basic trowel for intricate textures was frustrating. Investing in specialized tools like stippling brushes or textured rollers made a huge difference in achieving professional-looking effects.
Experimenting on Scraps
I wish I had started experimenting on scrap drywall before working on my main walls. This practice helped me understand how different mixtures and techniques behave, giving me confidence to execute my ideas more effectively.
Understanding Material Consistency
The consistency of joint compound or texture paste is vital. Too thick, and it’s hard to spread smoothly; too runny, and it drips. I learned to adjust the mixture for different effects and tools, which improved the overall quality of my finishes.
Patience and Environmental Factors
Waiting for the right weather conditions is often overlooked. Humidity and temperature influence drying times and adhesion. I found that working in a controlled environment yields better results and reduces imperfections.
Resources I’ve Come to Trust Over Time
- Home Improvement Experts: The tutorials from home improvement experts provided step-by-step guidance that demystified complex techniques and boosted my confidence.
- Online Forums and Communities: Platforms like DIY forums and social media groups offered real-world advice and shared experiences, helping me troubleshoot issues and discover new ideas.
- Professional Videos: Watching detailed videos on platforms like YouTube allowed me to see techniques in action, which was invaluable for mastering tricky textures.
Parting Thoughts from My Perspective
Reflecting on my journey with DIY wall texturing, I realize that patience, practice, and proper research are the keys to success. Achieving a professional look at home is not as daunting as it seems if you take the time to learn and experiment. Remember, every wall is unique, and imperfections often add character. If you’re considering adding a personal touch to your space, I encourage you to dive in with an open mind and enjoy the process. If this resonated with you, I’d love to hear your thoughts or see your projects. Share it with someone who might find it helpful, and happy texturing!
Reading about your DIY journey with wall texturing really resonated with me. I’ve recently started experimenting with plaster techniques and found that patience and the right environment are so important—especially when layering different textures. I tried using spray guns for smoother finishes but found practice helps avoid uneven patterns. It’s inspiring how you’ve combined multiple textures for a layered effect; that’s something I’m eager to try. One challenge I faced was matching textures after repairs, so I’d love to hear if you have tips on replicating specific patterns accurately. Also, have you experimented with eco-friendly sealants or paints to prolong the lifespan and reduce impact on the environment? I believe that sustainable choices can go hand-in-hand with creative home projects, and your insights would be valuable for DIY enthusiasts like myself. Thanks for sharing your detailed experiences—it’s encouraging to see how much can be achieved with patience and practice.
Your detailed journey into DIY wall texturing truly resonates with my own experiences. I’ve found that starting small with less prominent walls or panels helps build confidence before taking on larger projects. Experimenting with different textures, such as stippling or swirling, really does add character and uniqueness to a space—something that really enhances home aesthetics. I also agree that practicing on scrap drywall is invaluable; it’s amazing how much you can learn about the behavior of joint compound and textures this way. One thing I’d love to ask is if you’ve come across any particular technique for seamlessly blending repaired sections with the original textured surface? Matching textures after repairs has always been a bit tricky for me. Additionally, I’ve been exploring eco-friendly sealants and paints lately—have you tried any that also improve durability? Your insights about layering and environmental control are exactly what I needed to hear. Thanks for sharing your comprehensive tips—definitely motivating for anyone starting this rewarding DIY journey.