My Journey into Perfecting Floor Corners and Subfloor Prep
Last summer, I decided it was time to give my living room a fresh look, and that meant tackling the often-overlooked details of flooring installation. I vividly remember the frustration I faced when uneven subfloors and poorly finished corners caused my new hardwood floor to look less than perfect. That experience sparked my deep dive into the art of subfloor preparation and inside corner finishing, which I now consider essential skills for anyone aiming for professional-looking floors.
Why Are Inside Corners and Subfloor Prep So Critical?
In my experience, neglecting corners and subfloor leveling can sabotage the entire flooring project. I learned that a solid, level foundation and neatly finished corners not only improve aesthetics but also extend the life of your flooring. According to industry experts, proper subfloor prep reduces squeaks and uneven wear, making your investment last longer (source).
My Personal Tips for Mastering Corner Inside Corners
How Do I Achieve a Seamless Inside Corner Finish?
My secret is patience and precision. I always start by measuring and marking the exact angle of the corner. Using a quality miter saw or a coping saw helps me cut the baseboards or molding precisely. I then use painter’s caulk and a damp cloth to smooth out any gaps, ensuring a clean, professional look. This step might seem minor, but it makes a noticeable difference in the final appearance.
Getting the Subfloor Ready for a Perfect Floor
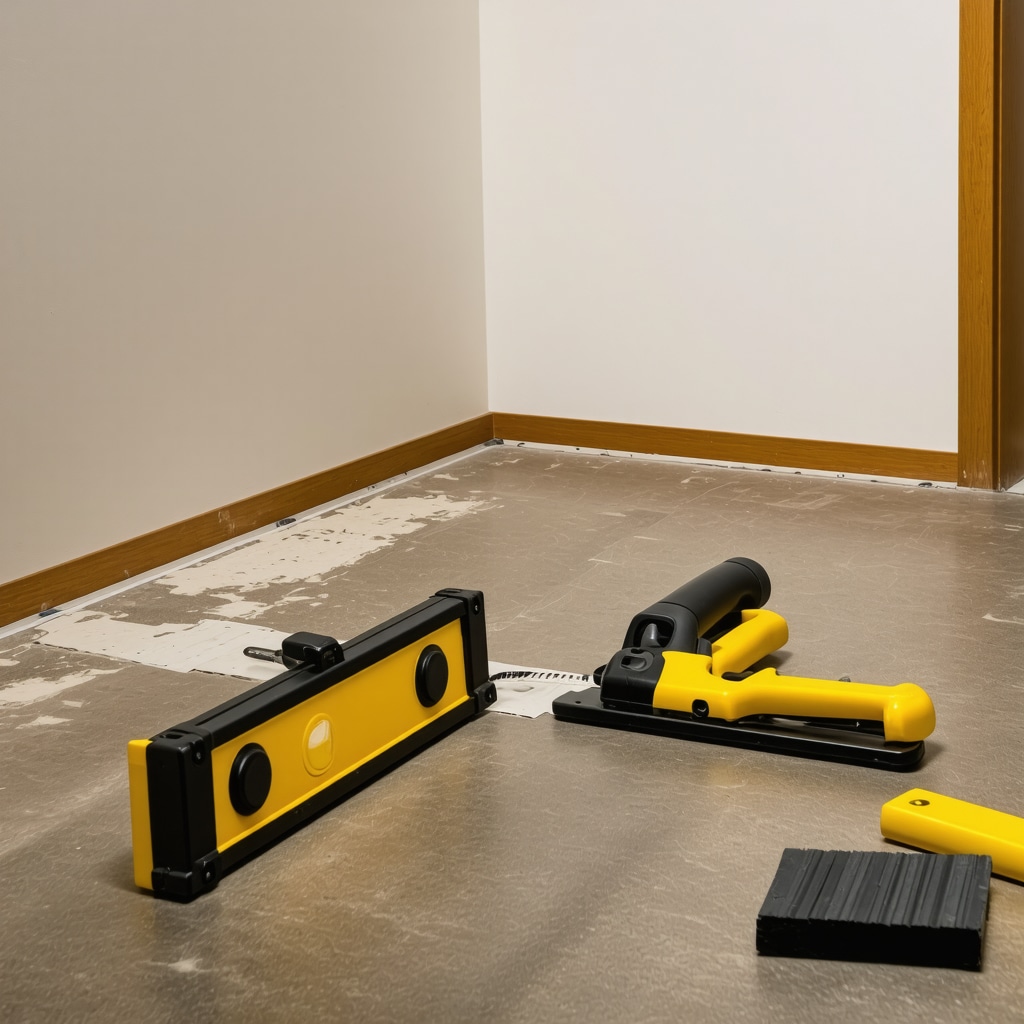
Before laying any new flooring, I always check the subfloor for levelness and stability. I use a long level and a straightedge to identify high spots or dips. If uneven, I fill cracks or sand down high areas. I also ensure the subfloor is clean, dry, and free of debris. Proper preparation like this minimizes future problems and creates a solid base for your flooring.
What Are My Most Valuable Lessons Learned?
One key lesson I picked up is that taking the time to prepare thoroughly saves headaches down the line. I also discovered that using quality tools, like a good level and a reliable saw, makes the job easier and results more precise. And don’t forget, patience is your best friend in DIY projects. For more advanced techniques, I often refer to professional tutorials or trusted sources, such as this home improvement guide.
Would You Like to Share Your Flooring Experiences?
If you’ve ever faced challenges with corner finishing or subfloor prep, I’d love to hear your stories. Sharing our DIY successes and lessons learned helps us all become more confident in tackling home projects. Feel free to leave a comment below or explore more creative solutions for home decor and upgrades on my blog!
Mastering the Art of Inside Corner Finishing and Subfloor Prep for Professional Results
When it comes to flooring installation, the devil truly is in the details. As I’ve learned through extensive DIY experience, ensuring that inside corners are perfectly finished and the subfloor is thoroughly prepared can make or break the overall look and durability of your flooring. These steps, while seemingly minor, are the backbone of any successful flooring project.
Why Precision in Corners and Subfloor Readiness Matters
From my personal journey, I can attest that neglecting these crucial aspects often results in unsightly gaps, uneven surfaces, or flooring that squeaks and wears prematurely. Industry standards emphasize that a level, clean subfloor coupled with seamless corner finishes not only elevate the aesthetic appeal but also extend the lifespan of your flooring. Proper subfloor preparation, including leveling and debris removal, is a fundamental step that can save you time and money in the long run (source).
Practicing Precision: Achieving Seamless Inside Corners
What Are the Expert Techniques for Perfect Corner Finishing?
My approach involves meticulous measurement and cutting. I start by measuring the exact angles with a protractor or angle finder, then use high-quality tools like a miter saw or coping saw for precise cuts. Applying painter’s caulk and a damp sponge to fill and smooth out gaps ensures a clean, professional finish. Patience here is key; rushing can lead to visible imperfections that detract from the overall aesthetic. For those interested in more advanced techniques, exploring professional tutorials or trusted guides can be highly beneficial, such as this home improvement guide.
Preparing the Subfloor: The Foundation of Success
Before laying down any flooring, I always assess the subfloor’s levelness. Using a long level and straightedge helps identify high and low spots. I then fill cracks with appropriate patching compounds or sand down high areas, ensuring a flat surface. Cleaning thoroughly to remove dust and debris is equally important. This level of preparation minimizes future issues like squeaking or uneven wear, and creates a solid base for the flooring, whether it’s hardwood, laminate, or tile.
What Additional Measures Can Elevate Your DIY Flooring Project?
Investing in quality tools and materials pays dividends. For example, using a laser level can enhance accuracy during subfloor leveling. Incorporating moisture barriers or underlayment can prevent future problems like mold or sound transmission. Moreover, taking the time to research advanced techniques, such as detailed edge finishing or subfloor reinforcement, can elevate your project from amateur to professional quality. If you’re looking for inspiration on creative solutions, exploring unique DIY crafts can offer ideas that add both function and beauty to your space.
Have You Tried These Techniques or Faced Challenges?
Sharing your experiences, tips, or questions can help build a community of passionate DIYers. Whether it’s a tricky corner or a stubborn uneven subfloor, discussing solutions fosters learning. Feel free to comment below or browse more innovative ideas on my blog to deepen your understanding and enhance your skills in home improvement projects!
Reflections on the Nuances of Corner Techniques and Subfloor Foundations
Over the years, my journey in perfecting flooring installation has revealed that the devil truly is in the details. Beyond the basic measurements and cuts, I’ve come to appreciate the subtle intricacies involved in achieving a flawless finish, especially in challenging corners and uneven subfloors. For instance, I now understand that the angle precision required in inside corners goes beyond simple measurement—considering the slight variations in wall angles and the importance of adaptive tools like adjustable miter saws or digital angle finders can make a difference (source).
How Do I Tackle the Complexities of Inside Corner Finishing?
In my experience, achieving seamless corners is a dance of patience, technique, and understanding the material behavior. For example, when working with baseboards, I’ve found that coping saws paired with a good sanding block allow for better contour matching than miter cuts alone, especially in irregular wall angles. Filling gaps with painter’s caulk and then gently sanding ensures a gapless, professional transition. It’s not just about the cut but about the finesse in finishing that transforms an average job into a showcase piece.
What Are the Hidden Challenges of Subfloor Preparation?
One challenge I faced early on was underestimating the impact of moisture content in the subfloor. A subfloor that looks perfectly level can still harbor moisture or residual debris that compromises adhesion and longevity. Using a moisture meter and ensuring proper ventilation during the prep process can prevent future issues like warping or mold growth. For stubborn dips or high spots, I’ve learned that combining sanding with self-leveling compounds can save a lot of headache later, especially when working with engineered hardwoods or laminates (source).
Advanced Techniques for Flawless Finishes and Long-Term Durability
One advanced tip I’ve adopted is the use of laser-guided leveling tools. These devices, although more expensive, provide unparalleled accuracy and save time. Moreover, understanding the importance of expansion gaps and proper underlayment installation cannot be overstated. They act as the unsung heroes, absorbing movement and preventing squeaks or cracks over time. I’ve also experimented with different types of adhesives and sealants, tailoring my approach based on the specific flooring material and environmental conditions. For further insights, I highly recommend exploring creative DIY tips for innovative upgrades that complement your flooring projects.
What Are Your Most Intricate Corner or Subfloor Challenges?
If you’ve faced complex corners or uneven subfloors, I invite you to share your stories and solutions. Sometimes, the most effective techniques come from trial, error, and a community willing to exchange insights. Whether it’s a tricky angle or a stubborn dip, our collective experiences can turn obstacles into learning opportunities. Feel free to comment below or browse more home improvement ideas on my blog to continue refining your craft.
Refining Corner Precision with Adaptive Tools and Techniques
Achieving impeccable inside corners demands more than just accurate cuts; it requires an understanding of wall irregularities and adaptive measurement methods. Over my years of experience, I’ve found that employing digital angle finders or adjustable miter saws significantly enhances the precision of corners, especially in older homes where wall angles often deviate from standard 90 degrees (source). These tools allow for minute adjustments, ensuring your baseboards or molding fit seamlessly without gaps or overlaps, elevating the quality of your finish.
Mastering the Art of Coping and Filling for Seamless Transitions
While miter cuts are common, coping is often overlooked but crucial for inside corners, especially in rooms with wall irregularities. Using a coping saw to cut along the profile of the molding and then smoothing with fine-grit sandpaper allows for a perfect contour match, even in complex wall angles. Once fitted, applying painter’s caulk with a damp finger or sponge helps fill any remaining gaps, creating a virtually invisible joint. This finesse in finishing is what distinguishes professional results from amateur work.
Addressing Subfloor Moisture and Structural Integrity with Advanced Measures
One of the most challenging aspects I encountered was managing moisture content in subfloors, which can lead to warping or mold if untreated. I now routinely use moisture meters to assess the subfloor’s condition before proceeding. For problematic areas, I apply self-leveling compounds combined with a moisture barrier to create a stable, flat surface. Additionally, I’ve adopted the practice of reinforcing weak spots with additional subfloor panels or bridging supports, ensuring the foundation can handle the stresses of flooring materials over time (source). This comprehensive approach prevents costly repairs and prolongs the lifespan of the finished floor.
What Are the Most Effective Strategies for Long-Term Floor Stability?
In my journey, I’ve learned that incorporating moisture barriers, proper expansion gaps, and high-quality adhesives are key to long-lasting flooring. Using laser-guided leveling tools can dramatically improve accuracy during subfloor prep, saving time and reducing errors. It’s also beneficial to experiment with different underlayment materials, such as cork or foam, which can provide additional soundproofing and cushioning. If you’re interested in elevating your project’s durability, exploring innovative solutions like these can make a meaningful difference.
If you’re eager to deepen your understanding of advanced subfloor preparation or corner finishing techniques, I invite you to explore detailed tutorials and share your experiences. Our collective insights can help refine our craftsmanship and achieve truly professional results in every project.
Things I Wish I Knew Earlier (or You Might Find Surprising)
The Power of Patience in Precision
Looking back, I underestimated how much patience influences the quality of corner finishing. Rushing through cuts often led to gaps, which was frustrating. Taking my time, measuring multiple times, and making slow, deliberate cuts has transformed my results, making them look truly professional.
The Hidden Impact of Subfloor Moisture
I once overlooked moisture levels in my subfloor, assuming a clean, level surface was enough. Later, I discovered that excess moisture can cause warping and mold, ruining the entire project. Using a moisture meter and proper ventilation has since become a crucial part of my prep routine.
Small Tools, Big Difference
Investing in high-quality tools like a digital angle finder and a reliable miter saw might seem unnecessary at first, but they significantly improve accuracy. These tools help me adapt to irregular wall angles and achieve seamless finishes, saving time and reducing frustration.
Layered Preparation Is Key
Prepping a subfloor isn’t just about leveling; it’s about thorough cleaning, moisture assessment, and using the right fillers or self-leveling compounds. This layered approach creates a sturdy foundation that prevents squeaks and uneven wear over time.
Embracing Advanced Techniques
Learning about laser-guided leveling and proper expansion gap installation has been a game-changer. These techniques ensure long-term durability and a flawless aesthetic. Exploring professional tutorials on building step-by-step guides has been invaluable.
Resources I’ve Come to Trust Over Time
- Home Depot’s Flooring Guides: Their comprehensive guides and tutorials have helped me troubleshoot issues and choose the right materials for my projects.
- Family Handyman: A trusted source for practical DIY tips, especially on subfloor leveling and corner finishing techniques.
- Fine Homebuilding: Offers in-depth articles and videos on professional flooring installation, elevating my understanding beyond basic DIY.
- Youtube DIY Channels: Channels like This Old House and Home Repair Tutor provide visual step-by-step demonstrations that clarified complex steps for me.
Parting Thoughts from My Perspective
Reflecting on my journey, I realize that mastering the art of inside corner finishing and thorough subfloor prep is about more than just skills — it’s about cultivating patience and attention to detail. These seemingly small steps can dramatically impact the final look and longevity of your flooring. If you’re embarking on a similar project, remember that good preparation and the right tools make all the difference. I’d love to hear your own stories or tips — sharing our experiences helps us all improve. Feel free to drop a comment or explore more home improvement ideas on my blog to keep learning and growing in your DIY journey!