Discovering the Magic of Miniature Dollhouses
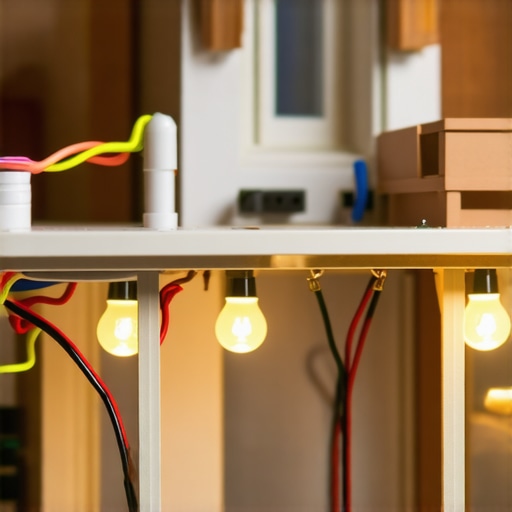
Ever since I was a child, I was fascinated by tiny worlds and miniature creations. My journey into building a miniature dollhouse with electrical wiring and tiny lighting began as a simple hobby but soon transformed into a passion. I remember the first time I saw a professionally wired dollhouse lighting setup; it sparked my curiosity about the intricate wiring and how such delicate wiring could power tiny bulbs without any visible wires.
Getting Started with DIY Electrical Wiring in Dollhouses
When I decided to craft my own miniature dollhouse, I knew that understanding electrical wiring was essential. I started with basic electrical principles, reading tutorials and guides from trusted sources like DIY Kutak. I learned to use thin, flexible wires that could be hidden within the walls, and I carefully planned the wiring routes to ensure safety and neatness. This experience taught me that patience and precision are key in such tiny projects.
How Do I Achieve Realistic Tiny Lighting Effects?
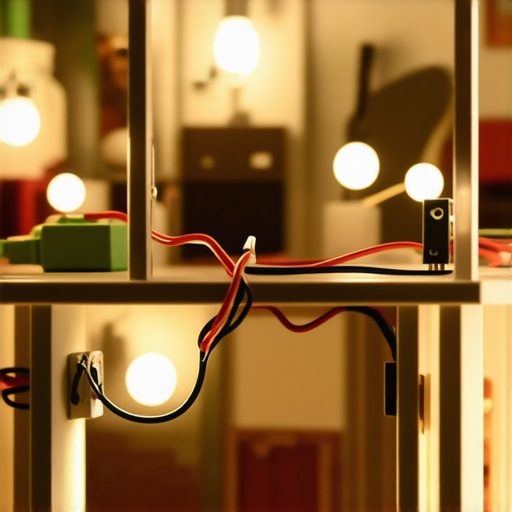
Lighting is what truly brings a miniature dollhouse to life. I experimented with tiny LED lights, which are energy-efficient and emit a warm glow perfect for creating cozy interiors. I also explored different lighting placements—like installing tiny sconces and ceiling fixtures—by following step-by-step guides from DIY Guides. The challenge was embedding the wiring discreetly and ensuring that the lights could be controlled independently. This process required me to learn about tiny switches and how to hide wiring behind miniature furniture or within walls.
What Are the Best Tools and Materials for Miniature Wiring?
Throughout my project, I discovered that using the right tools makes all the difference. Fine-tipped soldering irons, miniature wire strippers, and thin gauge wires became my best friends. For materials, I preferred flexible electrical tape, tiny connectors, and low-voltage LEDs. I also found that silicone caulking is excellent for sealing wires and keeping everything neat. Reliable sources like Home Improvement Tips provided invaluable tips on safety and wiring best practices.
How Can I Ensure My Dollhouse Wiring Is Safe and Durable?
Safety is paramount, especially when working on such small-scale projects. I always double-check connections, ensure wires are insulated, and avoid overloading circuits. Using battery-powered LEDs instead of mains power can be safer for miniature projects, but if you want wired lighting, proper insulation and secure connections are essential. I recommend consulting with an electrician if you’re unsure about electrical safety standards—better to be safe than sorry.
If you’re passionate about dollhouse miniatures and want to add electrical features, I encourage you to share your experiences or ask questions in the comments below. Combining craftsmanship with technical skills can lead to truly stunning results, and I believe that anyone can master tiny lighting with patience and practice.
For more creative DIY ideas, explore craft projects for all ages or learn step-by-step techniques at DIY guides for all skill levels.
Ensuring Longevity and Safety in Miniature Wiring Projects
One of the most critical aspects of creating a realistic and functional miniature dollhouse is ensuring that the electrical wiring is both safe and durable. Proper planning and execution can prevent common issues such as short circuits, loose connections, or accidental damage over time.
Start by choosing high-quality, flexible wiring designed specifically for miniature projects. These wires are easier to hide within walls and furniture, and they reduce the risk of breakage. When routing the wires, make sure to keep them neatly organized, avoiding sharp bends that can cause wear or breakage. Using a multimeter to test connections as you go can save a lot of trouble later, ensuring that each circuit functions correctly before sealing everything in place.
Insulation is vital for safety, especially if you decide to incorporate wired lighting that connects to mains power. Employing heat-shrink tubing or electrical tape over exposed connections can prevent accidental shorts. For added peace of mind, consider using low-voltage LED lighting powered by batteries or small transformers. This approach minimizes risk and simplifies troubleshooting if issues arise.
What Are the Key Considerations for Expert-Level Miniature Wiring?
Beyond basic safety, experienced hobbyists focus on longevity and ease of maintenance. Using soldered connections instead of crimp connectors can create more reliable and less bulky joints, which is especially important in tight spaces. Additionally, integrating tiny switches and dimmers can provide greater control over lighting effects, enhancing realism without complicating wiring routes.
Another advanced technique is incorporating wireless control modules, such as Bluetooth or Wi-Fi-enabled switches, that can be operated remotely via smartphone apps. This innovation allows for dynamic lighting scenes and reduces the need for complex wiring runs. However, it requires a solid understanding of electronics and often involves microcontrollers like Arduino or Raspberry Pi, which are well-documented in expert DIY communities.
For those interested in professional-grade wiring, consulting resources like Home Improvement Tips can provide insights into best practices for insulation, circuit protection, and circuit design tailored for miniature projects.
Finally, documenting your wiring plan and keeping detailed diagrams not only helps during the initial build but also makes future troubleshooting much easier. As with any electrical work, if you’re unsure about safety standards and local codes, it’s wise to consult a licensed electrician—safety should always be your top priority.
If you’re passionate about expanding your expertise or sharing your own wiring tips, don’t hesitate to comment below or explore more advanced DIY projects at DIY projects for all skill levels. Mastering miniature wiring is a rewarding challenge that can elevate your dollhouse to a true masterpiece.

Unlocking the Secrets of Professional-Grade Miniature Wiring
As I delved deeper into the world of miniature dollhouses, I realized that achieving not just functional but truly realistic lighting required mastering advanced wiring techniques. My early attempts, while satisfying, often fell short in durability and safety, prompting me to explore more sophisticated methods that professionals use. I discovered that soldered connections, for instance, create more reliable joints in tiny spaces, reducing the risk of loose wires that can cause shorts or flickering lights over time. This insight transformed my approach, making my wiring more durable and aesthetically pleasing.
Incorporating Smart Controls for Tiny Lighting Effects
One of the most exciting advancements I encountered was integrating wireless control modules—like Bluetooth or Wi-Fi-enabled switches—allowing me to control my dollhouse lighting remotely via smartphone apps. This not only added a layer of convenience but also opened up creative possibilities for dynamic lighting scenes, mimicking real-life lighting variations. Using microcontrollers such as Arduino or Raspberry Pi, I could program subtle dimming effects or even schedule lighting changes, elevating the realism of my miniature scenes. For detailed tutorials, I often refer to Home Improvement Tips.
Ensuring Safety and Longevity in Complex Wiring Setups
Safety is the cornerstone of my wiring projects. I always employ high-quality, flexible wiring designed specifically for miniatures, and I meticulously organize and label each circuit. Testing each connection with a multimeter before sealing everything up helps prevent future failures. When working with wired lighting connected to mains power, insulation becomes critical. Heat-shrink tubing and electrical tape safeguard against shorts, especially in tight, enclosed spaces. For long-term durability, I recommend using low-voltage LEDs powered by batteries or compact transformers, which minimizes risk and simplifies troubleshooting.
Reflections on Personal Growth and Creative Possibilities
Embarking on this journey of mastering miniature electrical wiring has been both challenging and rewarding. It taught me the importance of patience, precision, and continuous learning. Every project is an opportunity to refine techniques, experiment with new technologies, and push creative boundaries. I’ve found that sharing these experiences in online communities not only provides valuable feedback but also inspires others to explore their own miniature creations. If you’re passionate about dollhouse lighting, I encourage you to document your wiring plans thoroughly and consider exploring advanced resources like DIY projects for all skill levels.
Remember, safety should always come first—consult with professionals if you’re venturing into more complex or mains-connected wiring. With dedication, your miniature dollhouse can become a stunning, illuminated masterpiece that reflects both your craftsmanship and technological curiosity.
< }
}
Harnessing the Power of Layered Wiring for Authenticity
As my skills evolved, I realized that creating a truly realistic miniature dollhouse requires more than just basic wiring; it demands layered, multi-functional electrical systems that mimic real-life homes. Incorporating separate circuits for different rooms allows for independent lighting control, enhancing the immersive experience. For instance, I designed a dedicated circuit for the kitchen area, enabling me to add dimmable LED strips that simulate natural evening light, all controlled via microcontrollers. This approach not only elevates realism but also ensures safety by isolating high-load components.
Integrating Microcontrollers for Dynamic Lighting Effects
Delving into microcontroller integration, like Arduino or Raspberry Pi, opened new horizons in my miniature projects. I programmed subtle lighting transitions, such as flickering candlelight or flickering fireplace flames, via custom scripts. Wireless modules like Bluetooth or Wi-Fi switches, as detailed in Home Improvement Tips, provided remote control capabilities that made my dollhouse lighting more interactive and versatile. These innovations transformed static lighting into dynamic scenes, adding depth and storytelling potential to my miniature worlds.
Ensuring Robustness Through Professional-Grade Components
For durability, I transitioned to soldered connections using high-quality, miniature soldering tools. This method reduces joint failure and flickering over time. I also adopted protective measures such as heat-shrink tubing and insulating compounds, which shield delicate connections from environmental stress and accidental damage. Consulting professional standards, I ensured my wiring adhered to safety codes, particularly when integrating wired lighting with mains power. Such meticulous attention to detail is crucial for longevity and peace of mind.
Advanced Troubleshooting and Maintenance Strategies
In my experience, maintaining complex wiring setups demands systematic troubleshooting. I introduced color-coded wiring diagrams and detailed documentation, enabling quick diagnostics if a light flickers or circuit fails. Using a multimeter regularly helps verify connectivity and voltage levels, preventing future issues. When issues arise, I employ a combination of gentle inspection, re-soldering weak joints, and replacing faulty components, ensuring the dollhouse remains both beautiful and functional for years to come. For in-depth technical guidance, resources like Home Improvement Tips provide invaluable insights into circuit protection and wiring safety.
Engaging with a Community of Skilled Miniature Enthusiasts
Sharing my journey with fellow hobbyists has been invaluable. Participating in online forums and local clubs allows me to exchange tips on advanced wiring techniques, troubleshoot complex issues, and stay updated on new technological integrations. I urge anyone passionate about dollhouse wiring to document their projects meticulously and seek feedback from experienced builders. By doing so, you contribute to a vibrant community of artisans dedicated to perfecting the art of miniature craftsmanship. If you’re eager to elevate your skills further, I encourage you to explore comprehensive guides and tutorials that delve into microcontroller programming and circuit design, such as those found at DIY Guides.
Things I Wish I Knew Earlier (or You Might Find Surprising)
Mastering Patience and Precision
When I first started wiring my dollhouse, I underestimated how delicate and detailed the work would be. It took me longer than expected to perfect the routing of tiny wires, but the patience paid off by making the final result look seamless and professional. If I had known how rewarding careful planning could be, I would have started with a more detailed wiring diagram from the beginning.
The Power of Small Tools
Using the right miniature tools, like fine-tipped soldering irons and tiny wire strippers, made all the difference. I once struggled with bulky tools that caused more damage than good. Investing in specialized equipment saved me time and frustration, and I recommend fellow hobbyists to do the same for cleaner, safer wiring.
Safety Should Never Be Overlooked
Early in my projects, I was tempted to cut corners, but I quickly learned that insulating every connection and double-checking circuits was essential. Working with electrical wiring, even on a small scale, carries risks. Always use proper insulation techniques and consider consulting a professional if you’re unsure about safety standards.
Wireless Control Opens New Horizons
Integrating microcontrollers like Arduino or Raspberry Pi to control lighting remotely was a game-changer. It allowed me to create dynamic lighting scenes that mimic real homes. If you’re interested in bringing your miniature scene to life, exploring wireless controls can elevate your project from basic to extraordinary.
Layered Wiring Adds Realism and Functionality
Designing separate circuits for different rooms or features enhances realism and makes troubleshooting easier. I found that dedicating circuits to specific areas not only looks better but also prevents overloading tiny wires. This layered approach is something I wish I had adopted earlier, as it made future modifications much simpler.
Resources I’ve Come to Trust Over Time
- DIY Kutak: A treasure trove of step-by-step guides and tutorials that helped me understand complex wiring techniques. I recommend it to anyone starting out.
- Home Improvement Tips: Offers invaluable advice on safety standards, insulation, and circuit protection, perfect for hobbyists wanting professional results.
- Instructables: A community-driven platform where I found innovative ideas and troubleshooting tips shared by experienced miniature builders.
- Adafruit Learning System: An excellent resource for learning about microcontrollers and wireless control modules suitable for miniature projects.
Parting Thoughts from My Perspective
Looking back, I realize that mastering miniature dollhouse wiring is as much about patience and curiosity as it is about technical skills. The journey has taught me to appreciate the tiny details that make a scene come alive, whether it’s a flickering candle or a cozy glow from a tiny lamp. If you’re passionate about dollhouse miniatures, I encourage you to explore these wiring techniques and resources—your miniature world will thank you. And remember, safety first, but don’t let that hold you back from experimenting and creating something truly magical. If this resonated with you, I’d love to hear your thoughts or see your own mini wiring projects—feel free to share in the comments or reach out through my contact page.


Reading through this detailed post really resonated with my own journey into miniature wiring. I started with basic LED setups, but I soon realised that quality connectors and proper insulation made a huge difference in longevity and safety. I once used cheap solder joints that failed within a few months, which was frustrating and set me back. Since then, I’ve adopted soldering for all my micro-wires, along with heat-shrink tubing for added security. The idea of integrating microcontrollers like Arduino for dynamic effects is fascinating. I’ve been experimenting with remote control modules, and while the wiring gets complex, the flexibility it offers makes it worth the effort. To those just starting out, I’d recommend documenting every step and testing each circuit thoroughly—the investment in time pays off in the long run. Have others experimented with tiny dimmers or programmable timers in their setups? I’d love to hear how you’ve managed complex wiring while keeping everything neat and safe.