My Journey into Advanced Outdoor Deck Staining & Sealing
When I first decided to give my backyard deck a fresh coat of stain, I underestimated how crucial proper sealing and staining techniques are for durability. Over the years, through trial and error, I’ve learned some invaluable tips that help keep wooden surfaces looking beautiful and lasting longer, even in harsh weather.
Why I Realized the Importance of Quality Materials
Initially, I used generic stains and sealers, thinking all products were the same. But after a few seasons, I noticed fading and peeling. That’s when I started researching and discovered the significance of choosing high-quality, weather-resistant products. For instance, I now opt for products with UV protection and waterproofing properties, which I found out from reputable sources like HGTV.
Preparation Is Key: The First Step Toward a Long-Lasting Finish
Before staining, I always ensure the surface is clean and dry. I use a pressure washer to remove dirt, mold, and old peeling stain. Sanding the surface lightly helps in better adhesion. This prep work might seem tedious, but it’s the foundation of a professional-looking finish that endures the elements.
Choosing the Right Stain and Sealer: My Personal Favorites
For my decks, I prefer semi-transparent stains that enhance the natural wood grain. I’ve found brands like Behr and Olympic offer excellent durability. When sealing, I use a waterproof sealer with added UV protection. Applying these in the right conditions—preferably during mild weather—ensures maximum penetration and longevity.
Applying Stain & Sealer: My Step-by-Step Routine
I apply stain with a brush or roller, working in the direction of the wood grain. Multiple thin coats are better than one thick layer. After the stain dries, I follow up with a sealer, again in thin coats. Patience is vital; I usually wait at least 24 hours between coats for optimal results. I’ve learned that a well-ventilated day helps the sealer cure properly, extending its lifespan.
What are some common mistakes to avoid during outdoor staining?
One mistake I made early on was staining in direct sunlight, which caused uneven absorption. I now check the weather forecast and choose overcast days for application. Also, rushing the process or skipping prep work can lead to peeling and fading. Maintaining regular touch-ups every couple of years keeps my deck looking fresh and protected.
If you’re considering a DIY approach, I highly recommend exploring detailed guides like this comprehensive DIY guide to ensure success.
Have you tried staining and sealing your outdoor wood surfaces? Share your experiences or ask questions in the comments below—I’d love to hear your tips!
Mastering the Art of Outdoor Deck Maintenance: Advanced Staining & Sealing Techniques
As an avid DIY enthusiast and seasoned contractor, I’ve come to appreciate the nuanced intricacies involved in achieving a professional-grade finish on outdoor wooden surfaces. Beyond the basic steps, understanding the science behind stain absorption and sealer longevity can dramatically extend the lifespan of your deck, ensuring it remains a stunning centerpiece for years to come.
How Do Different Wood Types Influence Staining Outcomes?
One critical aspect often overlooked is the type of wood used in your deck. Softwoods like cedar or pine absorb stain differently than hardwoods such as ipe or mahogany. For instance, softer woods tend to soak in stain quickly, which can lead to uneven coloration or blotchiness if not properly prepared. Conversely, dense hardwoods require more penetrating formulas and longer drying times. Recognizing these differences allows you to tailor your approach, selecting appropriate products and application techniques that align with your specific wood type.
The Role of Climate and Seasonality in Long-Term Durability
Environmental conditions play a pivotal role in the success of your staining project. Humidity, temperature fluctuations, and UV exposure can all impact how well the stain and sealer adhere and resist degradation. For example, applying stain during high humidity can trap moisture, causing peeling or mold growth over time. Therefore, planning your project during mild, dry weather—typically in spring or early fall—can significantly improve results. For additional guidance, consulting trusted sources like HGTV offers valuable insights into optimal timing and conditions.
Can You Achieve a Custom Finish with Advanced Techniques?
Absolutely. For those seeking a unique, personalized look, techniques such as copper foil stained glass-inspired effects or layered staining can produce stunning visual textures. Additionally, integrating transparent or semi-transparent stains with subtle color variations can mimic aged or weathered appearances, adding character and depth to your outdoor space. Experimenting with these advanced methods not only enhances aesthetic appeal but also demonstrates a high level of craftsmanship that can be appreciated by friends and family alike.
What are the common pitfalls that even seasoned DIYers might overlook?
One often underestimated mistake is neglecting proper surface preparation, especially the importance of thorough sanding and cleaning. Residual dirt or old, peeling stain can compromise adhesion and uniformity. Another is rushing the drying process—applying sealer before the stain is fully cured can lead to smudges or premature peeling. Using high-quality, weather-resistant products is essential, but their effectiveness hinges on meticulous application and timing. For a comprehensive guide on mastering these details, this detailed DIY resource offers step-by-step instructions tailored for all skill levels.
If you’re eager to elevate your outdoor projects, I encourage you to experiment with different techniques and share your experiences in the comments. Want to explore more advanced DIY home improvement strategies? Check out this collection of smart DIY tips for everyday problems.
My Reflection on Mastering the Art of Deck Maintenance
Over the years, I’ve come to realize that the true beauty of a well-maintained deck isn’t just in the initial application of stain and sealer, but in the ongoing care and expert techniques that keep it looking pristine. One of the most rewarding experiences in my DIY journey has been discovering how nuanced and rewarding advanced staining techniques can be when approached with patience and knowledge.
Understanding Wood Types and Their Unique Needs
One of the most eye-opening lessons I learned was how different wood types respond to staining. Softwoods like cedar tend to absorb stain unevenly, especially if not properly prepared, leading to blotchiness. Hardwood decks, such as mahogany or ipe, require deeper penetration and often benefit from pre-treatment with wood conditioners. Recognizing these subtle differences allowed me to tailor my approach, selecting products and application methods that truly enhanced each surface’s natural beauty. For anyone venturing into DIY staining, I highly recommend exploring detailed guides like this comprehensive resource to deepen your understanding of materials and techniques.
Environmental Factors: The Hidden Influencers
Environment plays an often underestimated role in stain longevity. I’ve seen firsthand how humidity, temperature swings, and UV exposure can dramatically affect results. Applying stain during a dry, mild season—typically spring or early fall—has always yielded better adhesion and durability. I learned that even the slightest moisture trapped in the wood can cause peeling or mold growth, making careful weather planning essential. For advanced DIYers, I suggest consulting trusted sources like HGTV’s expert advice on optimal timing and weather considerations.
Layering Techniques for a Custom Finish
One of the most creative aspects of advanced staining is layering different tones and transparencies to achieve a unique, weathered, or aged appearance. I experimented with semi-transparent stains, combining subtle hues for depth, and even used layered techniques to mimic natural patinas. These methods require patience—allowing each layer to dry thoroughly before applying the next—but the visual payoff is extraordinary. For those interested in elevating their projects, exploring techniques like copper foil stained glass effects can inspire innovative aesthetics that impress friends and family alike.
What Advanced Techniques Help Ensure Long-Term Success?
Consistency in application, surface prep, and timing are critical. I’ve found that meticulous sanding, cleaning, and applying thin, even coats significantly improve durability. Additionally, using high-quality, weather-resistant stains and sealers designed for specific wood types can make a difference. For example, incorporating UV protectants within the sealer helped my deck resist fading over seasons, as supported by research from DIY home improvement tips. The key is patience—allowing each coat to cure fully and avoiding shortcuts that compromise the finish. I encourage fellow DIY enthusiasts to share their experiences or ask questions—after all, mastery is a continuous journey.

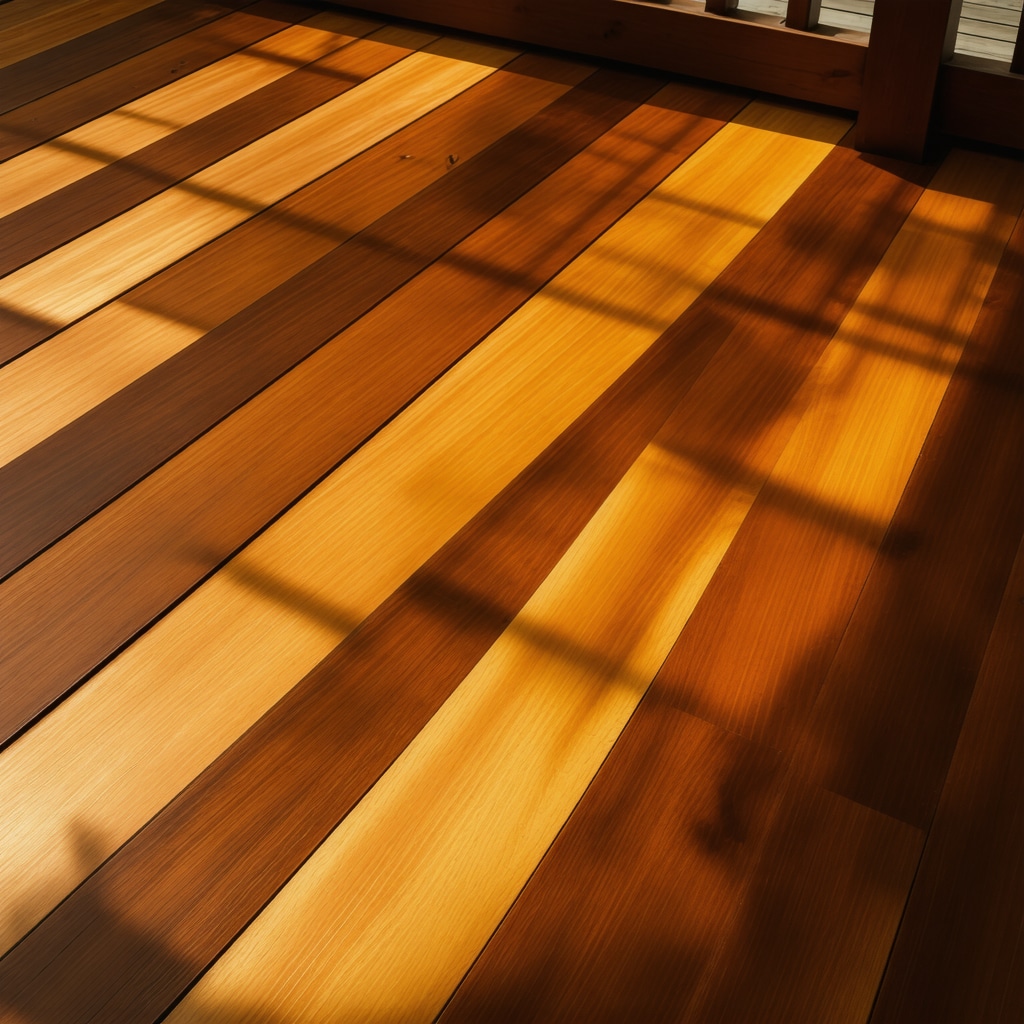
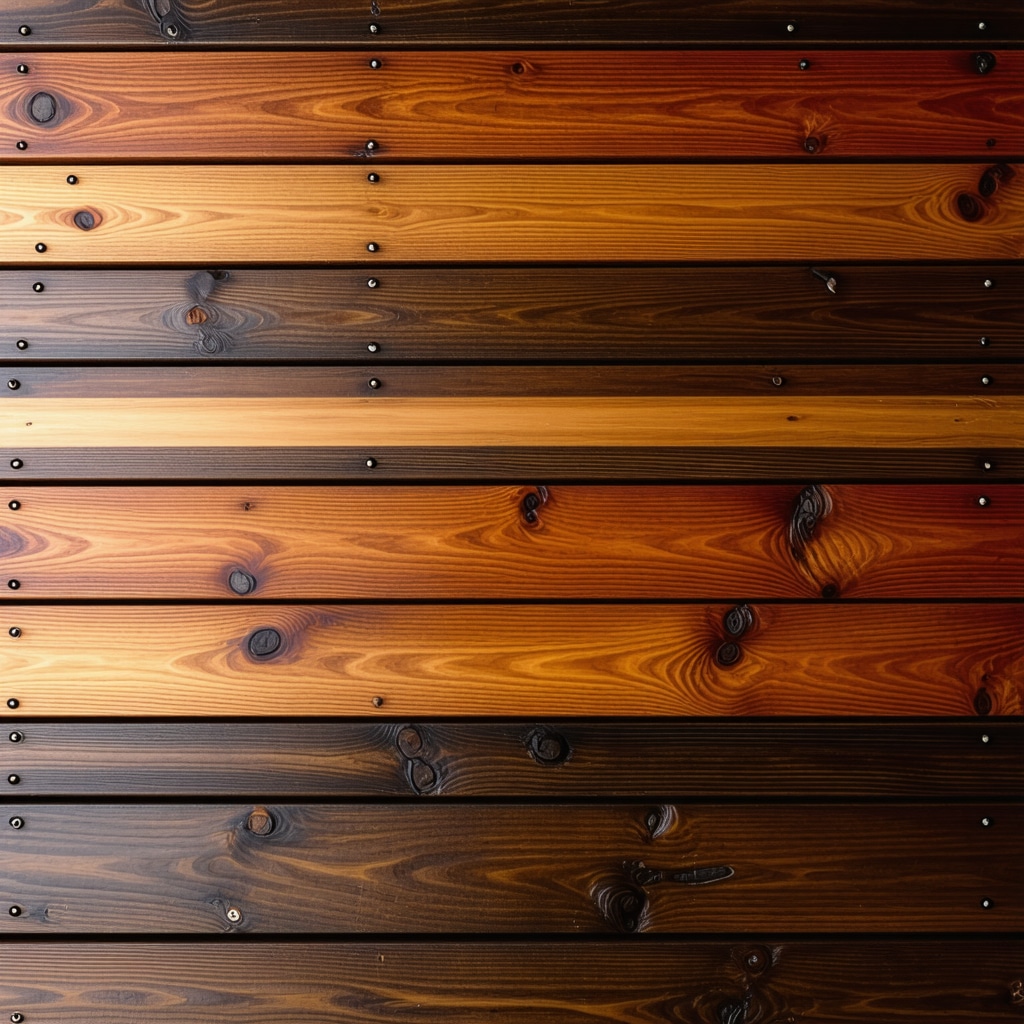
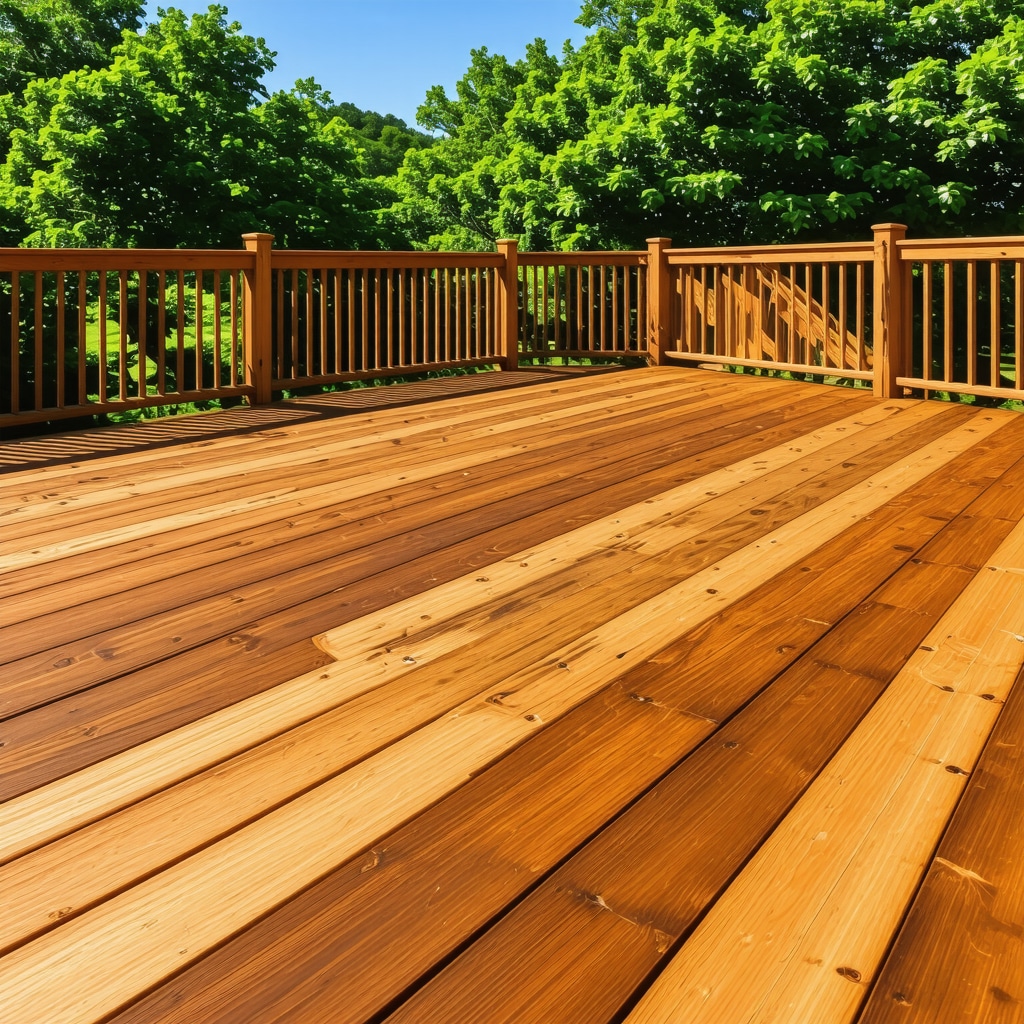
Imagine a beautifully layered deck with rich, deep hues, showcasing the depth and complexity achievable with advanced staining techniques. This image would illustrate a deck with multi-layered finishes, highlighting the artistry involved.
The Impact of Wood Grain and Grain Orientation on Staining Results
One of the most subtle yet impactful factors I’ve encountered in my journey is understanding how wood grain direction influences stain absorption and finish uniformity. For example, decks constructed from reclaimed wood often feature irregular grain patterns that, if not properly prepared, can cause uneven coloration or blotchiness. To mitigate this, I now employ grain-alignment techniques, such as applying stain along the grain in multiple directions, to achieve a harmonious appearance. Recognizing the grain’s orientation also allows for strategic sanding—sanding with the grain reduces splintering and enhances adhesion, especially critical when working with exotic hardwoods like ipe or mahogany, which require deeper penetration for lasting protection. This nuanced understanding stems from my experience and has been reinforced by authoritative sources like the HGTV guides on professional staining practices.
The Science Behind UV Protection and Long-Term Color Retention
One of the most rewarding areas of advanced staining is leveraging UV-resistant formulations that preserve color vibrancy over years of exposure. From my own projects, I’ve learned that integrating UV inhibitors directly into the stain or sealer significantly delays fading caused by sunlight. For instance, I prefer products that contain UV blockers like benzophenone derivatives, which form a protective shield on the wood’s surface. This approach is especially vital in regions with high sun intensity, where I’ve seen decks fade prematurely without adequate protection. For an in-depth understanding, I turn to technical sheets from reputable brands and cross-reference them with research from DIY home improvement resources. The key is not just choosing high-quality products but applying them with precision and understanding their chemical properties.
How Can Layering Techniques Create a Rich, Textured Finish?
Layering different stains and finishes offers a pathway to personalized, sophisticated aesthetics on outdoor surfaces. I often experiment with semi-transparent stains layered with contrasting hues, allowing each layer to dry thoroughly before applying the next. This process creates depth and visual interest, mimicking natural weathered patinas or even aged copper surfaces. For example, applying a darker semi-transparent stain first, followed by a lighter overlay, can highlight grain patterns and add a sense of dimensionality. To push the boundaries further, I explore techniques such as glazing and color washing, which require meticulous timing and surface preparation but yield stunning, customized results. For inspiration and detailed guidance, I recommend exploring advanced staining techniques. The artistry lies in balancing transparency, tone, and texture to craft a unique outdoor masterpiece.
What Are the Most Critical Factors to Ensure Long-Lasting Results in Advanced Staining?
From my experience, success hinges on meticulous surface prep—thorough cleaning, sanding, and ensuring the wood is dry and free of contaminants. Additionally, applying thin, even coats and allowing ample curing time between layers prevents issues like peeling or uneven color. Using high-quality, weather-resistant products tailored to your specific wood type enhances durability, especially when incorporating UV protectants and waterproofing agents. The environmental conditions during application are equally crucial; I always select overcast days with mild temperatures to optimize absorption and curing. For those eager to elevate their skills, I recommend consulting comprehensive DIY guides that emphasize advanced techniques. Your patience and attention to detail are the real keys to achieving professional-grade finishes that withstand the test of time.

Visualize a deck with a multi-layered finish, showcasing rich, layered hues that highlight the depth and craftsmanship achievable through advanced staining techniques. This image captures the artistry of layered, textured outdoor finishes.
Things I Wish I Knew Earlier (or You Might Find Surprising)
1. The Hidden Power of Wood Conditioners
Early in my DIY journey, I overlooked the importance of pre-treating softwoods with a wood conditioner. Once I started using them, my staining results became more even and professional-looking, especially on cedar and pine decks. It’s a game-changer I wish I had known sooner.
2. The Impact of Grain Orientation on Finish
Understanding how wood grain affects stain absorption transformed my approach. Applying stain along the grain and sanding with it reduced blotchiness and enhanced the natural beauty of hardwoods like mahogany. It’s a subtle detail that makes a huge difference.
3. Environmental Conditions Are Critical
Applying stain during dry, mild weather—preferably in spring or fall—ensures better adhesion and longer-lasting results. I learned this the hard way with peeling and uneven color when I applied stain in the summer heat.
4. Layering for Unique Textures
Experimenting with layered semi-transparent stains allowed me to create rich, textured finishes that mimic weathered wood. It’s a fun technique that adds character and depth to your outdoor surfaces.
5. The Science of UV Protection
Choosing stains with built-in UV inhibitors has helped me maintain vibrant colors over the years. It’s an investment in the longevity of your deck’s appearance, especially in sunny regions.
6. The Importance of Patience and Thin Coats
Applying multiple thin coats and allowing proper curing time between layers results in a more durable and beautiful finish. Rushing the process often leads to peeling and fading.
Resources I’ve Come to Trust Over Time
- HGTV: Their expert guides on staining and sealing are invaluable for understanding weather considerations and product selection. I often refer to their tips for planning projects.
- Manufacturer Technical Sheets: Reading the detailed specifications of UV protectants and waterproofing agents deepens my understanding of product chemistry and application methods.
- DIY Guides: The comprehensive DIY resources at this link have helped me master advanced staining techniques with confidence.
- Home Improvement Forums: Connecting with fellow DIYers has provided practical insights and troubleshooting tips that are often more relatable than official manuals.
- Professional Contractors: Observing seasoned professionals has taught me the importance of surface prep and choosing the right products for specific wood types.
Parting Thoughts from My Perspective
Over the years, I’ve come to appreciate that outdoor deck staining and sealing is both an art and science. The key is understanding your wood’s unique needs, respecting environmental influences, and practicing patience with layered applications. Investing time in proper preparation and selecting high-quality, weather-resistant products will reward you with a deck that stands the test of time and weather. If this resonates with you, I’d love to hear your own tips or experiences—sharing knowledge makes all of us better DIY enthusiasts. Remember, every project is a learning opportunity, and with the right techniques, your outdoor spaces can become true masterpieces of craftsmanship and care.


Reading through this detailed journey into advanced deck staining really resonated with me. I’ve experimented with layering stains to achieve a textured, weathered look on my own outdoor furniture and have found that patience and proper prep make all the difference. I particularly agree with the importance of surface conditioning and avoiding application during harsh weather—these small steps can drastically improve longevity and appearance.
One challenge I’ve faced is choosing the right product for mixed wood types on a single deck. Have others found effective methods for ensuring uniform results across different materials? I’ve been considering a multi-stage approach, involving specific conditioners or primers tailored to each wood type, but I’d love to hear any tips from seasoned DIYers or professionals on this.
Reading this post really underscored the importance of tailored approaches when dealing with various wood types and environmental factors. I’ve dealt with mixed wood decks before, especially in older homes where different species were used, and I agree that using specific conditioners or primers suited for each type can make a noticeable difference. I’ve found that applying a wood conditioner designed for softwoods before staining helps to prevent blotchiness, especially on cedar or pine, which are prone to uneven absorption.
In terms of ensuring uniform results across different materials, do you recommend applying a neutral pre-treatment to all surfaces first, or is it better to treat each type separately? Also, in your experience, how much does temperature variation during application affect the final finish? I’ve noticed that even a slight change in weather can impact how evenly the stain dries. Would love to hear your strategies for managing these nuances, especially for projects that span several days or weeks.
Your detailed insights into the nuances of advanced deck staining really resonated with me, especially your emphasis on surface preparation and the importance of patience with layering techniques. I completely agree that the choice of materials, like UV-protected sealers and weather-appropriate application conditions, can make or break the longevity of the finish. Over the years, I’ve also found that employing a brush along the grain helps with even penetration, particularly on dense hardwoods like ipe, which you mentioned.
Regarding your point on environmental factors, I’ve experienced similar challenges when trying to stain during peak summer heat, leading to uneven absorption and premature peeling. What strategies do you recommend for managing humidity and temperature fluctuations during ongoing projects that can’t always be scheduled during ideal weather? Also, I’m curious—do you use any specific products or pre-treatments when dealing with mixed wood types to ensure consistent results? Sharing these expert tactics really helps improve my DIY game, and I’m eager to hear more about how others tackle these intricacies.