My Journey with Drywall Repair: From Frustration to Precision
I’ll never forget the day I discovered the magic of seamless drywall patching. A large hole in my living room wall had become an eyesore, and I was determined to fix it without leaving noticeable scars. As someone who loves DIY projects, I dove into researching the best techniques for patching large holes and textured surfaces. That experience transformed my approach to home repairs, and I want to share some of my personal insights with you.
Why I Chose Seamless Drywall Patching for Large Holes
When dealing with sizable damages, traditional patching methods often leave uneven surfaces and visible seams. I wanted a solution that would blend perfectly with my textured walls and withstand the test of time. After exploring various techniques and consulting reputable sources like home improvement tips, I realized that seamless drywall patching is the way to go. It offers a professional finish, even on textured surfaces, and requires minimal sanding and finishing.
My Step-by-Step Experience with Large Hole Repair
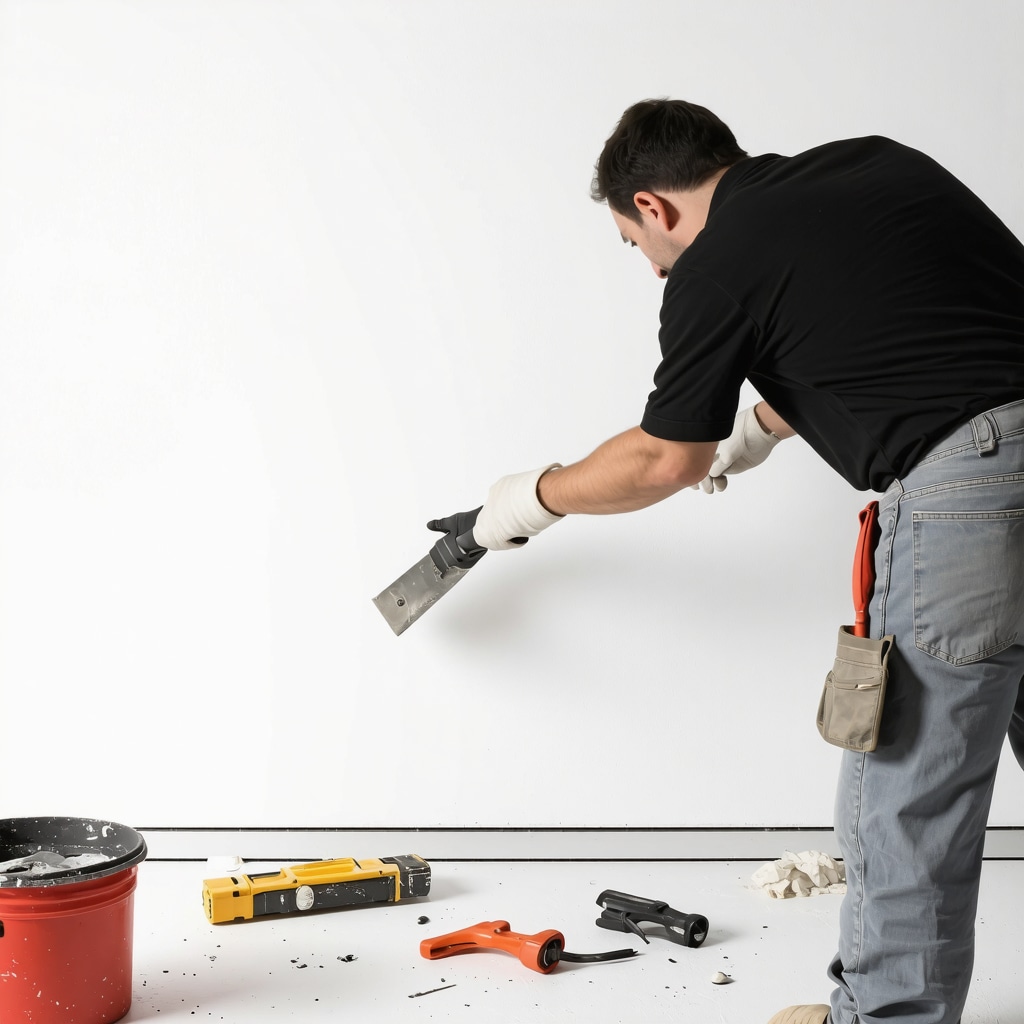
First, I gathered high-quality drywall patches, joint compound, and textured spray. I cut the patch to fit the hole precisely, making sure to bevel the edges for a smooth transition. Applying a layer of joint compound around the edges, I embedded the patch and smoothed it out with a putty knife. To match the texture, I used a spray texture kit, carefully mimicking the existing wall finish. The result was astonishing — almost imperceptible!
What Makes Textured Surfaces Challenging?
Textured walls add a layer of complexity to drywall repairs. The uneven surface makes it difficult to get a smooth patch, and the texture pattern can be tricky to replicate. I learned that patience and the right tools are essential. For instance, using a stencil or spray texture can help recreate the original pattern. I also recommend practicing on a scrap piece before applying it to your repaired area. Achieving a seamless look on textured surfaces truly tests your DIY skills, but it’s immensely rewarding.
How Can I Ensure the Patch Blends Perfectly with My Textured Wall?
Matching textures is the key to a flawless repair. I found that experimenting with different spray techniques and adjusting the spray nozzle can make a significant difference. Additionally, using a lightweight joint compound mixed with a little texture additive can help blend the patch with the existing wall. Don’t rush the drying process — patience ensures better adhesion and texture match. Remember, the goal is to make the repair invisible, and with a little practice, it’s achievable.
If you’re interested in exploring more creative home solutions, check out creative DIY home decor ideas.
Have you tried seamless drywall patching before? I’d love to hear your experiences or tips in the comments below! Happy repairing!
Overcoming Challenges in Matching Complex Wall Textures
Matching textured surfaces after drywall repair is a nuanced process that demands both patience and skill. As an experienced DIYer, I’ve learned that understanding your wall’s original texture pattern is crucial. Whether it’s a knockdown, popcorn, or swirl texture, each requires a tailored approach. For instance, recreating a knockdown texture involves spraying joint compound and then lightly smoothing the peaks before they set. Practicing on scrap drywall can help refine your technique and prevent mishaps on the actual wall.
Choosing the Right Tools for Texture Replication
Having the correct tools makes all the difference. A high-quality spray texture gun, adjustable nozzles, and even simple household items like a sponge or stippling brush can help mimic various textures. For intricate patterns, a stencil with textured paint or spray can save time and ensure consistency. Remember, the key is to match the size, depth, and spacing of your wall’s original texture — a task that becomes easier with the right tools and some experimentation.
Expert Advice: How Do You Achieve a Seamless Texture Blend?
Blending the repaired area seamlessly with existing wall texture is an art. I recommend applying a light coat of joint compound over the patch and then using a texture spray or stippling technique to match the surrounding finish. Patience during drying is essential; rushing can lead to uneven textures. Additionally, adjusting your spray pattern and practicing on a test surface can help you fine-tune the process. Remember, a successful repair not only looks good but also withstands cleaning and everyday wear.
Have You Ever Tried a Creative Technique to Match Textured Walls?
Innovative DIY solutions can sometimes make the process easier or more fun. For example, using a sponge to dab on texture or employing a comb tool to create specific patterns can add a unique touch. If you’re interested in exploring more creative home solutions, check out creative DIY home decor ideas. These techniques not only enhance your repair skills but also allow you to personalize your space with distinctive textures and finishes.
What’s your favorite trick for matching textured walls? Share your tips or ask questions in the comments below — I love learning from fellow DIY enthusiasts!
Reflections on the Art of Textured Wall Repairs
Over the years, my journey with textured drywall repairs has evolved from basic patching to mastering intricate techniques that truly blend seamlessly with complex wall patterns. One of the most rewarding aspects of this craft is the ability to restore a wall’s original character, especially when dealing with unique textures like swirl, knockdown, or popcorn finishes. This process requires not just technical skill but an intuitive understanding of the wall’s personality, which I’ve cultivated through patience and experimentation.
Deeper Insights into Texture Recreation
Matching a complicated texture pattern goes beyond simply spraying joint compound. It involves analyzing the pattern’s depth, spacing, and application method. For instance, recreating a swirl texture demands a delicate balance of spray pressure, nozzle size, and movement speed. I often find myself adjusting these parameters in real-time, guided by visual cues and tactile feedback. The goal is to mimic the wall’s original finish so convincingly that only a trained eye can notice the repair.
Nuances of Tool Selection and Technique
The right tools are crucial, but mastering their use is what makes a difference. I’ve learned that a high-quality spray texture gun with adjustable nozzles offers unparalleled control. For more intricate patterns, I sometimes switch to manual stippling brushes or sponges to add personal touches. Using a textured additive mixed into joint compound can also help replicate subtle variations in the wall’s surface. These small adjustments, coupled with patience, help me achieve a seamless blend that stands up to close inspection.
How Do I Tackle Challenging Wall Surfaces?
Some walls present more complexity than others—uneven surfaces, varying paint ages, or previous repairs can complicate matching textures. My approach involves careful surface preparation, ensuring the wall is clean and free of loose material. I then experiment on a scrap piece, testing spray patterns and additive mixes until I find a close match. When working on actual walls, I apply thin layers, building up gradually and allowing ample drying time. This incremental process minimizes the risk of uneven textures and ensures a more natural transition.
What Advanced Techniques Can Elevate Your Drywall Repairs?
One technique I’ve found invaluable is the use of stencils combined with spray texture for creating consistent patterns. Additionally, employing a heat gun after spraying can help speed up drying and set the texture faster, giving you more control over the final look. Some professionals suggest using digital texture-matching tools, which analyze the existing pattern and recommend optimal spray settings. While I haven’t personally used these tools extensively, they represent exciting future possibilities for precision in textured wall repairs.
For those interested in refining their skills, I recommend exploring online workshops or detailed tutorials on advanced texturing techniques. Sharing knowledge with fellow DIY enthusiasts can lead to innovative solutions and new perspectives. If you’re eager to experiment further, check out creative DIY home decor ideas that incorporate textured finishes, inspiring you to elevate your wall art and repair projects.
Have you faced particularly tricky textures? I invite you to share your experiences or ask questions—learning from each other’s successes and challenges can significantly improve our craftsmanship. Remember, every textured wall is a canvas waiting for your next masterpiece!
Mastering the Art of Complex Texture Integration
When tackling intricate wall textures, I’ve found that a meticulous approach rooted in understanding the original pattern’s depth and application is essential. For example, recreating a stippled popcorn texture involves more than just spraying joint compound; it requires controlling the spray pressure, nozzle size, and movement speed to mimic the uneven, granular surface authentically. Practicing these techniques on scrap drywall not only hones your skill but also provides valuable insight into the nuances of texture replication, significantly improving the final seamless appearance.
Leveraging Specialized Tools for Precision
Precision in texture matching is greatly enhanced by using advanced tools such as digital texture analyzers, which scan the existing wall surface and recommend optimal spray settings. A high-quality spray texture gun with adjustable nozzles allows for fine-tuning the spray pattern, ensuring the recreated texture aligns perfectly with the original. For detailed patterns, manual stippling brushes or sponges can be employed to add subtle variations, giving the repaired area a natural, undetectable finish. These tools, combined with a thoughtful technique, elevate drywall repairs to a professional level.
How Can Experts Achieve Flawless Blending on Challenging Surfaces?
Expert-level blending involves applying a thin layer of joint compound over the patch, then carefully matching the texture using spray techniques or stippling methods. Patience during drying is critical; rushing can cause uneven textures or mismatched patterns. Employing a heat gun after spraying can expedite setting, allowing for more precise adjustments. Additionally, analyzing the wall’s original pattern—whether swirl, knockdown, or textured spray—and replicating it through controlled application ensures a seamless transition. For more advanced tips, consulting authoritative sources like the home improvement experts can be invaluable.
Are there innovative techniques or emerging technologies that can further refine texture matching?
Indeed, emerging tools such as 3D surface scanners and AI-powered pattern recognition software are beginning to influence professional drywall repair. These technologies analyze existing textures with remarkable accuracy and recommend precise spray parameters, drastically reducing the trial-and-error phase. Although still in early adoption stages, integrating such solutions promises unprecedented consistency and quality, especially on complex or highly detailed wall surfaces. For DIY enthusiasts eager to push their skills further, exploring these advancements can open new horizons in home repair mastery.
If you’re passionate about elevating your drywall artistry, I encourage you to experiment with these advanced techniques and share your experiences. Connecting with a community of like-minded DIYers can provide additional insights and inspiration for your next project. Remember, every textured wall is a canvas, waiting for your expert touch.
Things I Wish I Knew Earlier (or You Might Find Surprising)
Patience is Your Best Friend
One thing I learned the hard way is that rushing through texture matching often leads to noticeable imperfections. Taking my time to carefully match spray patterns and textures made all the difference in blending repairs seamlessly into my walls.
Practice on Scrap Before Working on the Wall
Practicing techniques on a scrap piece of drywall beforehand helped me understand how different textures react and how to control spray pressure and motion. It saved me from making costly mistakes on my actual walls.
The Right Tools Make a Huge Difference
Investing in quality spray texture guns, stippling brushes, and sponges transformed my repair process. These tools provided the control needed to mimic complex textures accurately, especially on older, textured walls.
Texture Additives Are Your Secret Weapon
Mixing joint compound with texture additives allowed me to better match the existing wall pattern. It’s a simple trick that significantly improved the final look of my repairs.
Drying Time is Crucial
Patience during drying phases prevents smudges and uneven textures. Waiting a bit longer for each layer to set resulted in a more professional finish, which made me proud of my DIY skills.
Don’t Be Afraid to Experiment
Trying different spray techniques and texture combinations helped me discover what worked best for my walls. Experimenting turned the repair process into a creative challenge rather than a frustrating task.
Resources I’ve Come to Trust Over Time
- Home Improvement Tips: This site offers practical advice and step-by-step guides that helped me understand the nuances of drywall repair. It’s like having a knowledgeable friend by your side.
- DIY Texture Techniques: I found their tutorials on spray textures and blending techniques incredibly helpful for replicating complex wall patterns.
- Expert Video Tutorials: Visual learning through videos clarified many tricky aspects of texture matching, making the process less intimidating.
- Online Forums and Communities: Connecting with fellow DIYers provided real-world tips and encouragement, reminding me that I wasn’t alone in my journey.
Parting Thoughts from My Perspective
If you’re considering repairing textured drywall, remember that patience, practice, and the right tools are your best allies. My journey from frustrated attempts to seamless patches has been incredibly rewarding, and I believe anyone can achieve professional-looking results with a bit of persistence. Don’t hesitate to explore creative solutions and share your experiences—every wall has a story, and your repair can be a part of it. If this resonated with you, I’d love to hear your thoughts or see your own repair stories. Happy DIYing!
Reading about your journey with seamless drywall patching really resonated with me. I recall my first attempt at repairing a large hole on my textured living room wall; it was daunting, especially trying to match the intricate patterns. Your detailed step-by-step approach, especially the use of textured spray and practicing on scrap drywall, echoes my own methodology. I’ve found that patience truly is key—rushing often results in visible patches that stand out. What I’ve also discovered over time is the value of subtle tools, like stippling brushes, for adding fine details that blend the repair perfectly.
One challenge I faced was recreating certain textures like knockdown or swirl patterns. Have you experimented with digital tools or pattern stencils to mimic complex textures? I’ve been curious about emerging tech solutions that could make this process even more precise. Sharing techniques for matching textures is invaluable for DIYers looking to elevate their repairs. Would love to hear more about your experiences with advanced tools or any creative tricks you’ve mastered for tricky textures.
Your detailed account of seamless drywall patching really struck a chord with me, especially your emphasis on patience and practice. I’ve faced similar challenges when trying to match textured surfaces like swirl or knockdown patterns. Personally, I’ve started experimenting with stencil templates combined with spray texture for more consistent results, especially on complex patterns. It’s fascinating how small adjustments in spray pressure or nozzle size can make such a difference in blending repairs seamlessly.
One thing I’ve found helpful is using a textured additive in my joint compound to better replicate the existing wall surface. Patience truly is crucial, particularly during drying, to prevent mismatched textures. Have you explored combining traditional spraying with manual stippling or stipple brushes? I think integrating different techniques could yield even more natural results. Also, I’m curious if you’ve had success using any digital tools or pattern-matching apps for complex textures — I’ve read about some emerging tech but haven’t tried them yet.
Would love to hear if you’ve experimented with these methods or any other creative approaches that have worked well for you. Thanks again for sharing your process—it’s inspiring for us fellow DIYers!
Reading your detailed journey with seamless drywall patching really resonated with me. I’ve also found that tackling textured surfaces requires a lot of patience and experimenting with different techniques. For example, I once tried creating custom stencils to match swirl textures, which helped in achieving a more uniform repair. It’s interesting how small tweaks in spray pressure or the application method can dramatically improve the finish.
One tip I’d like to add is the use of a textured joint compound mixed with additives to better mimic the wall’s original pattern. When I was working on a popcorn ceiling, I found that adjusting the spray nozzle and practicing on scrap material beforehand saved me from costly mistakes. Have you considered using digital pattern scanners or apps to analyze and replicate the wall’s existing texture? I’ve been curious about those tools and whether they really make a difference.
Thanks for sharing your insights; it’s motivating for DIYers like me to see how these techniques really come together. I’d love to hear more about your experiences with advanced tools or any creative tricks that help in tricky textures. Do you think these digital solutions are worth exploring for amateur repairs?
Your journey with seamless drywall patching on textured surfaces really highlights the importance of patience and the right tools. I’ve had similar experiences, especially when trying to match swirl or knockdown textures—getting the pattern just right can be quite the challenge. I totally agree that practicing on scrap drywall makes a big difference before tackling the real thing. I’ve found that customizing spray techniques and using textured additives in joint compound can really help blend repairs seamlessly.
One thing I’ve tried is using stencil templates combined with spray textures for complex patterns, which improves consistency. Have you ever experimented with digital pattern scanners or pattern recognition software? I’ve read about some newer tools that might take the guesswork out of matching intricate textures. It’d be interesting to hear if they actually simplify the process for DIYers.
Overall, your detailed approach inspires me to keep refining my techniques. Do you think these emerging tech solutions are worth investing in for more precise results? I’d love to hear your thoughts or any other creative tips you might have for tricky textured walls.