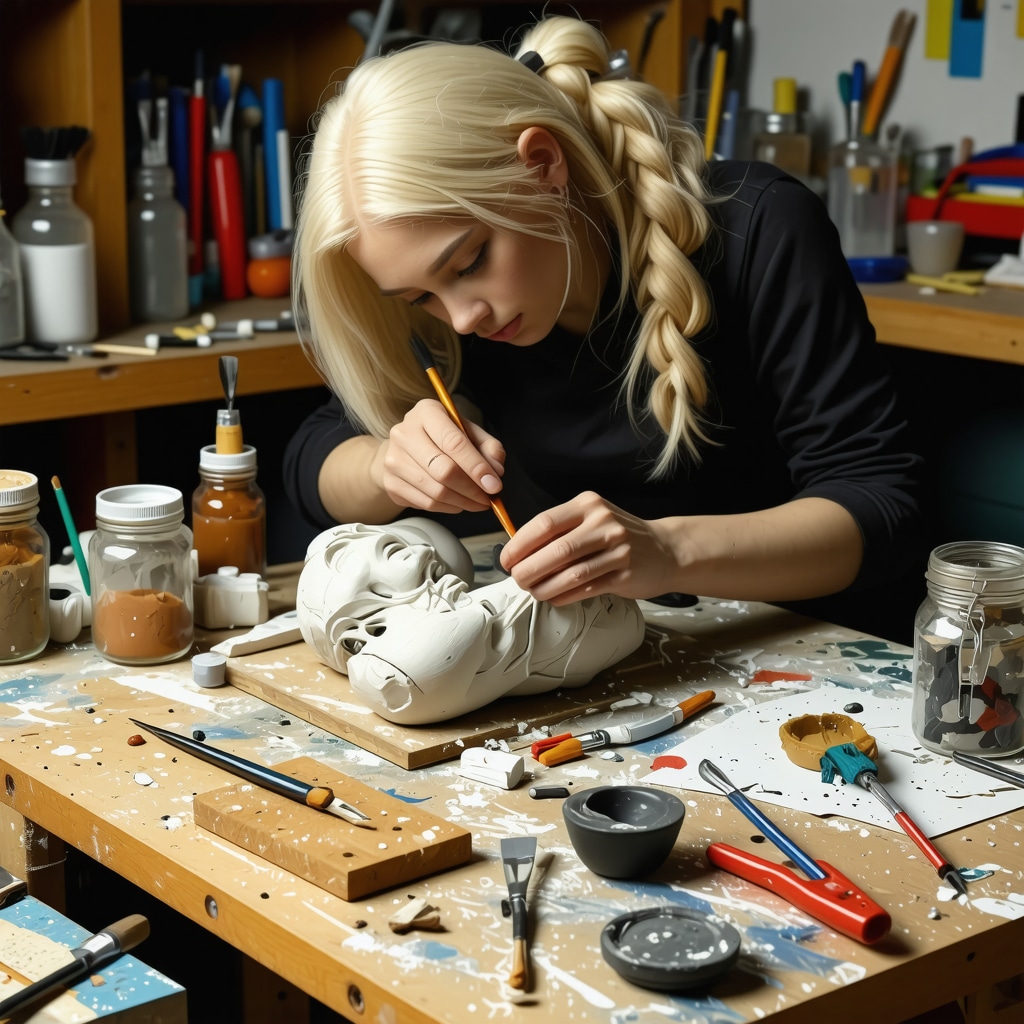
My Journey into Crafting Beautiful Ball-Jointed Dolls
Ever since I first laid my eyes on those exquisite ball-jointed dolls, I was captivated. I remember the day I decided to try making my own, armed with just a basic understanding of polymer clay and resin. That initial attempt was a bit clumsy, but it sparked a deep passion for creating these intricate figures. Over time, I learned the importance of patience and precision, which are crucial when working with materials like polymer clay and resin.
Why I Love Using Polymer Clay and Resin for Dolls
Polymer clay is my go-to for sculpting detailed features because it’s versatile and easy to manipulate. When baked, it becomes durable enough for fine detailing. Resin, on the other hand, is perfect for creating transparent or semi-transparent joints and limbs, adding a realistic touch. Combining these materials allows me to craft dolls that are both artistic and durable, perfect for display or even custom commissions.
Essential Tips for Creating Your Own Doll Masterpieces
1. Start with a Solid Armature: I always begin with a basic wireframe, which provides support and helps maintain proportions. It’s like building a skeleton before adding the flesh. For detailed joints, I sometimes incorporate tiny metal balls for smooth movement.
2. Master the Art of Sculpting: Using tools like silicone-tipped shaping instruments, I craft realistic facial features and delicate fingers. Watching tutorials on hand-carved wooden chess pieces helped me develop better fine-motor skills applicable to doll sculpting.
3. Proper Curing and Painting: Baking polymer clay at the correct temperature is critical; I always use a dedicated oven thermometer. Once cooled, I apply acrylic paints with fine brushes for shading and details. Sealing with a matte varnish preserves the paintwork and enhances realism.
How Do I Achieve Realistic Joints?
The key is precision in assembly. I use tiny metal pins or elastic cords inside the joints, which allow movement without sacrificing stability. Resin joints are cast separately, then attached with strong, clear adhesives. For detailed guidance, I often consult resources like step-by-step DIY guides.
What Are Some Common Challenges and How Do I Overcome Them?
One challenge I faced was resin casting bubbles. To prevent this, I gently degas the resin mixture before pouring and work in a warm, dust-free environment. Also, ensuring the clay is thoroughly baked avoids cracks later. Patience and continuous practice are my best tools.
Creating these dolls is truly a rewarding experience, blending art with craftsmanship. If you’re interested in exploring more, I recommend visiting creative DIY projects for inspiration.
Would you like to share your own doll-making adventures or ask for specific tips? Feel free to leave a comment below! Happy crafting!
Unlocking the Secrets of Perfect Joints in Custom Ball-Jointed Dolls
Creating realistic joints is the pinnacle of craftsmanship in doll-making, transforming simple figures into lifelike art pieces. As an experienced artisan, I’ve experimented with various methods, from traditional elastic cords to advanced resin casting, to achieve smooth, durable, and natural-looking joints that move seamlessly and withstand handling over time.
What Are the Key Elements for Achieving Authenticity in Doll Joints?
At the heart of realistic joint design is precision. I focus on meticulous measurements, ensuring each joint component is perfectly aligned. For internal mechanisms, tiny metal pins or elastic cords provide flexibility and stability, mimicking real human movement. When working with resin, casting separate joint segments allows for custom detailing and smoother articulation. This approach aligns with expert techniques discussed in comprehensive DIY guides.
How Can I Ensure Longevity and Movement Quality in Doll Joints?
Durability hinges on the choice of materials and assembly precision. Using high-quality elastic cords and installing tiny metal pins securely inside the joint cavities ensures durable, flexible movement. I also recommend sealing resin joints with a clear, flexible adhesive to prevent cracking or loosening over time. Regular testing of joint movement during assembly helps detect issues early, saving time and effort later. Expert advice emphasizes maintaining a balance between tightness and flexibility, which I’ve found to be crucial for the longevity of custom dolls.
Handling Common Challenges in Joint Crafting
One recurring challenge is casting bubbles or imperfections in resin joints. To mitigate this, I gently degas the resin mixture and pour it in a dust-free environment. When assembling, tiny misalignments can cause stiffness or wobbliness—here, patience and iterative adjustments are key. For intricate joints, I often employ multi-part molds to achieve fine details, especially for small, delicate areas like finger joints or facial features. These techniques are detailed in resources like advanced repair guides, which I highly recommend for mastering complex assembly processes.

Exploring innovative assembly methods, such as incorporating miniature ball bearings or custom-designed joint caps, can elevate your doll-making skills. These enhancements not only improve movement fluidity but also add a professional touch. Would you like to delve deeper into advanced resin casting or explore custom joint design ideas? Sharing your experiences or questions can spark valuable discussions within the crafting community. Feel free to comment below or check out more detailed tutorials at interactive doll projects for inspiration.
Refining Precision: The Nuances of Achieving Authenticity in Doll Joints
As I delved deeper into the craft of doll-making, I realized that the devil truly lies in the details. Achieving lifelike joints demands meticulous attention to measurement and alignment, but it also involves understanding the subtleties of human anatomy and movement. For instance, when sculpting shoulder joints, I pay close attention to the natural range of motion and how muscles and tendons influence joint positioning. Incorporating tiny elastic cords and metal pins inside these joints allows for a delicate balance between flexibility and stability, mimicking human articulation with remarkable realism.
One aspect that significantly elevates the durability of these joints is the choice of high-quality materials. I prefer to use resilient elastic cords, which maintain their elasticity over time, paired with precision-machined metal pins that prevent wobbling or loosening. Sealing resin joints with flexible, clear adhesives not only preserves movement but also prevents cracking caused by temperature fluctuations or handling stresses. Regular testing during assembly ensures each joint moves smoothly, avoiding stiffness or looseness that could compromise the doll’s lifespan.
How Do I Overcome Common Challenges in Casting and Assembling Complex Joints?
One challenge I frequently encounter is resin casting imperfections like bubbles or surface irregularities. To mitigate this, I use a gentle vacuum degassing process and work in a dust-free environment. When assembling intricate joints, misalignments can lead to stiffness or unnatural movement. I combat this by performing iterative adjustments, gradually refining the fit until the joint operates seamlessly. Employing multi-part molds for tiny, detailed areas—such as finger joints or facial features—has been invaluable. These techniques are well-documented in advanced repair guides, which I recommend for mastering complex assemblies.
Exploring innovative methods like integrating miniature ball bearings or designing custom joint caps can significantly improve movement fluidity and add a professional touch. These enhancements contribute not only to the doll’s aesthetic appeal but also to its functional longevity. If you’re eager to push your skills further, I suggest experimenting with different materials and techniques, always aiming for that perfect balance between realism and durability.
Would you like to share your own experiences or seek advice on specific challenges? Feel free to leave a comment—I love exchanging insights and learning from fellow enthusiasts. For more inspiration, explore interactive doll projects that combine craftsmanship with technology.
Refining the Art of Joint Articulation: Beyond Basic Techniques
Achieving seamless, lifelike joints in custom ball-jointed dolls requires an intricate understanding of both human anatomy and engineering precision. My journey into mastering these sophisticated mechanisms has led me to experiment with multi-layered internal supports, such as combining elastic cords with tiny ball bearings, to simulate natural movement while maintaining stability. This approach, inspired by biomechanics studies and detailed in advanced repair guides, allows for a fluid yet durable articulation that withstands handling and poses.
Innovative Material Applications for Enhanced Longevity
Material choice profoundly impacts the longevity and performance of doll joints. I favor resilient, high-elasticity cords paired with precision-machined metal pins, which together resist wear and deformation. For resin joints, I utilize flexible, high-strength adhesives that accommodate movement and temperature fluctuations, preventing cracking over time. Incorporating silicone-based lubricants within joints further reduces friction, enabling smoother articulation. These nuanced material strategies, supported by expert insights, elevate the quality of my dolls and inspire continuous innovation.
How Do I Tackle the Challenge of Fine Detail Casting in Complex Joints?
One of the most demanding aspects is casting tiny, intricate components free of bubbles and imperfections. To address this, I employ vacuum degassing techniques and multi-part molds designed with precision to capture delicate features. For example, casting finger joints or facial features requires meticulous mold design and controlled curing environments. Achieving this level of detail aligns with the methodologies outlined in advanced electrical wiring guides, emphasizing the importance of precision and patience. I encourage fellow artisans to experiment with these advanced casting techniques to push their craftsmanship further.
Would You Like to Share Your Own Advanced Doll-Joint Techniques?
I invite you to join the conversation and share your insights or challenges. Exploring these sophisticated methods together enriches our collective expertise and drives innovation in doll-making. For more inspiration and detailed tutorials, consider exploring interactive doll projects. Your journey into advanced artistry begins with curiosity and a willingness to refine your craft—let’s elevate our skills together!
Things I Wish I Knew Earlier (or You Might Find Surprising)
1. The Power of Patience
One of the most overlooked aspects in doll-making is patience. Early in my journey, I wanted instant results, but I quickly learned that taking my time—especially during casting or joint assembly—makes all the difference in achieving lifelike realism.
2. Precision Matters More Than You Think
Measuring tiny components and aligning joints perfectly can seem tedious, but those details are what transform a basic figure into a convincing, articulated masterpiece. Investing in good tools and practicing meticulousness pays off.
3. The Secret of Flexible Materials
Choosing the right elastic cords and flexible adhesives can extend your doll’s lifespan and improve movement. I once used a cheap elastic, and it lost elasticity within months—learning that quality materials matter is a game-changer.
4. The Hidden Benefits of Multi-Part Molds
Creating multi-part molds for intricate parts like fingers or facial features initially seemed complex, but it ensures fine details without imperfections. It’s a technique worth mastering for those aiming for high realism.
5. How Small Adjustments Lead to Big Results
Iterative testing and minor tweaks during joint assembly can prevent stiffness or looseness later. Over time, I realized that patience in assembly creates a more natural and durable joint.
6. Learning from Mistakes is Key
Every crack, bubble, or misalignment was a lesson. Embracing mistakes as part of the process helped me develop better techniques, and I encourage fellow artisans to see errors as stepping stones.

